
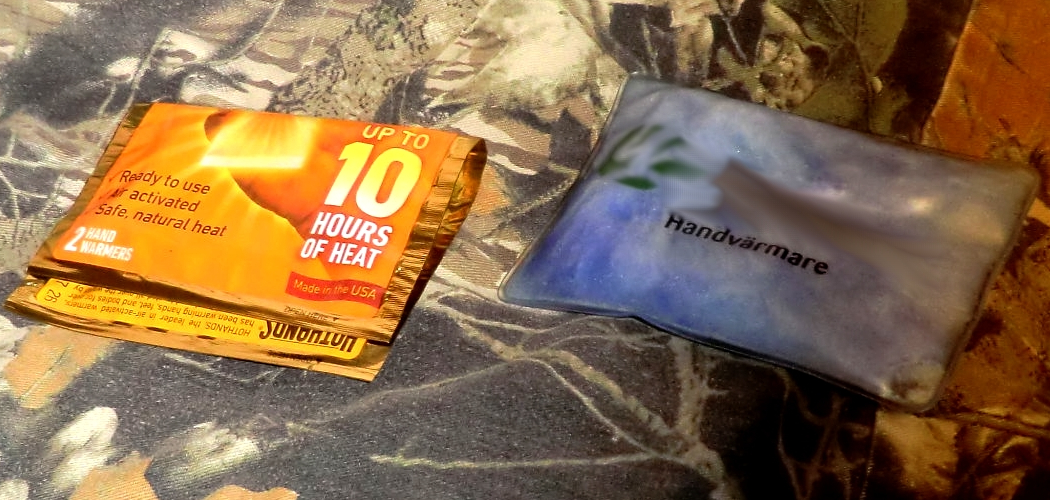
Your fingers go numb halfway through the football game. The morning dog walk feels brutal, and your gloves just aren’t cutting it. A hand warmer can fix that fast, and learning how to use a hand warmer takes only a minute. These small heat packs slip right into your pocket and keep your fingers toasty for hours.
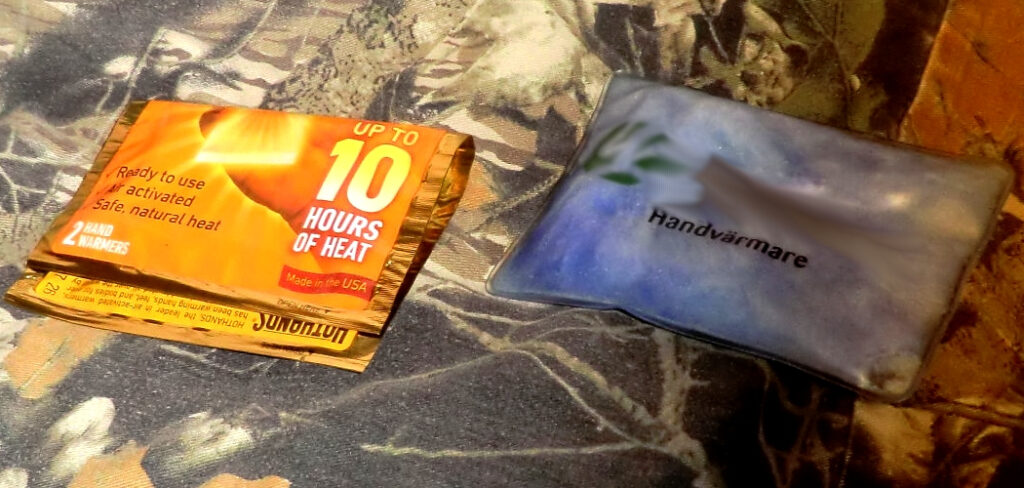
In this guide, you’ll learn the different types of warmers and how to activate each one. We’ll walk through a simple step-by-step process, share insider tips, and answer common questions. Whether you’re heading out for winter hikes or just braving a chilly commute, you’ll stay comfortable. By the end, you’ll handle any cold-weather situation like a pro.
What You’ll Need
Grab the right gear before you head out into the cold. Each type of warmer works a little differently, so pick what fits your day.
- Disposable air-activated warmers — single-use packets that heat up when exposed to air
- Reusable warmers — gel-filled packs you activate with a click, then reset by boiling
- Electric hand warmers — rechargeable devices powered by a battery
- Catalytic hand warmers — refillable metal units that burn lighter fluid slowly
- Toe warmers — smaller adhesive versions for your boots
- Gloves or mittens to trap the heat
- A pot of water (for resetting reusable warmers)
- A charging cable (for electric models)
- Lighter fluid (for catalytic types)
- Your regular cold weather gear, like a hat and scarf
Step-by-Step Guide on How to Use a Hand Warmer
Step 1: Choose the Right Type for Your Day
Start by matching the warmer to your activity. Disposable pocket warmers work great for short trips and single events like a ballgame. Reusable warmers suit folks who want to save money over a long winter. Electric options shine for repeat outdoor activities since you just recharge them. Catalytic hand warmers put out serious heat for hunters and long hikes. Picking the right one saves you hassle and keeps your fingers happy.
Step 2: Read the Packaging Before You Open It
Take a quick look at the instructions first. Every brand has slightly different activation steps and heat times. Some air-activated warmers need a good shake, while others heat up on their own. Reusable warmers usually have a small metal disc you press. Skipping this step is the most common mistake people make. Thirty seconds of reading now prevents confusion later, especially when your hands are already cold.
Step 3: Activate a Disposable Air-Activated Warmer
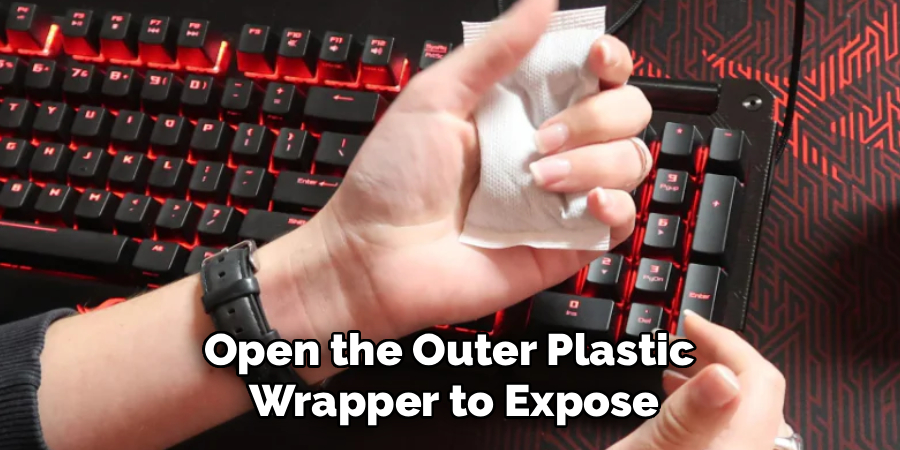
Open the outer plastic wrapper to expose the packet to air. The iron powder inside reacts with oxygen and starts producing heat within minutes. Give it a gentle shake to spread the contents evenly and speed things up. Set it aside for a few minutes to reach full warmth. Don’t tear the inner packet open, since the powder needs to stay contained. These heat packs can stay warm for up to 10 hours.
Step 4: Activate a Reusable Warmer
Locate the small metal disc floating inside the gel pack. Give it a firm click or bend, and watch the gel start to crystallize and warm up. The pack heats almost instantly, which makes reusable warmers handy in a pinch. They usually stay warm for about 30 minutes to an hour. When it cools and hardens, you can reset it later by boiling. This type is a smart pick if you hate tossing single-use packets.
Step 5: Power Up an Electric Hand Warmer
Charge the device fully before you leave home. Press the power button, and most models heat up in seconds. Many electric warmers offer heat settings, so pick low for mild days and high for freezing ones. Some even double as a phone charger, which is a nice bonus. Watch the battery indicator so you don’t get caught with a dead unit. These deliver steady body heat without any fuss or waste.
Step 6: Position the Warmer for Maximum Comfort
Slip the warmer into your coat or pants pocket where your hands rest. You can also tuck it into gloves or mittens for direct warmth. Avoid pressing it flat against bare skin for long stretches, since that can cause irritation. Keep a thin layer of fabric between the warmer and your skin. For your feet, stick toe warmers on the outside of your socks. Smart placement helps the heat reach where you need it most.
Step 7: Store Extra Warmers Properly
Keep unused disposable packets sealed in their airtight wrappers. Once air hits them, the clock starts ticking and you can’t stop the reaction. Store them in a cool, dry spot away from heat sources. If you open one and don’t need it, seal it in a zip-top bag to pause the reaction briefly. This trick buys you a little extra life. Good storage means your pocket warmers are ready whenever the temperature drops.
Step 8: Cool Down and Dispose or Reset
Let the warmer cool completely before you handle disposal. Toss spent air-activated warmers in the trash, since the contents are non-toxic and safe. To reset a reusable warmer, drop it in boiling water until the gel turns clear again. Let it cool, and it’s ready for next time. For electric units, simply recharge them. Handling this last step right keeps your gear working season after season.
Tips for Best Results
These insider pointers help you get the most heat and value from every warmer.
- Activate warmers a few minutes early. Air-activated warmers need time to reach full heat, so open them before you step outside. You’ll walk out with warm hands instead of waiting in the cold for them to kick in.
- Pair warmers with insulated gear. A warmer works far better inside a lined glove that traps the heat. Cold weather gear and warmers together create a cozy pocket of warmth that lasts longer.
- Keep one in your car and bag. Stash a spare set in your glove box and backpack for surprise cold snaps. You’ll thank yourself during an unexpected breakdown or a chilly outdoor event.
- Don’t microwave disposable warmers. Only certain gel packs are designed for boiling, and none of the air-activated kind belong in a microwave. Always match the reset method to the warmer type to avoid ruining it.
- Match the size to the job. Use larger heat packs for your core and smaller toe warmers for boots. Sizing your warmers correctly spreads comfort across your whole body.
Frequently Asked Questions
How Do Hand Warmers Actually Work?
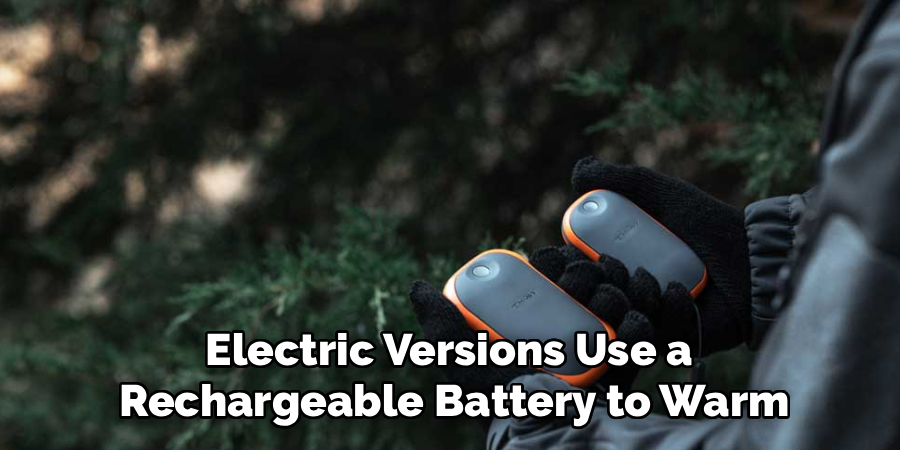
Disposable warmers rely on a simple chemical reaction. Iron powder inside reacts with oxygen in the air, and that reaction gives off heat. Reusable gel warmers work differently, releasing heat as the liquid crystallizes after you click the disc. Electric versions use a rechargeable battery to warm a heating element, giving you steady body heat on demand.
How Long Does a Hand Warmer Stay Warm?
It depends on the type you choose. Air-activated warmers often last between 6 and 10 hours, making them great for long outdoor activities. Reusable gel packs usually stay warm for 30 minutes to an hour before you reset them. Electric hand warmers run for several hours per charge, and catalytic hand warmers can burn for up to 24 hours.
Are Hand Warmers Safe to Use on Skin?
They’re safe when you use them correctly, but keep a thin layer of fabric between the warmer and your skin. Direct, prolonged contact can cause redness or a mild burn, especially on high heat settings. Tuck warmers into pockets or gloves rather than gripping them bare-handed for hours. Check on kids and older adults, since their skin can be more sensitive.
Can I Reuse a Disposable Hand Warmer?
No, disposable air-activated warmers only work once. After the iron powder finishes reacting with oxygen, it can’t be recharged or restarted. If you want a reusable option, grab gel warmers or electric models instead. Those let you reset or recharge them dozens of times, which saves money over a long winter.
What’s the Best Hand Warmer for Outdoor Activities?
For all-day hikes or hunting, catalytic and electric warmers give you the longest, steadiest heat. Disposable pocket warmers are perfect for shorter outings like sledding or a football game. Reusable gel packs work well for quick errands and unexpected chills. Match the warmer to how long you’ll be out and how much heat you need.
Can I Put a Hand Warmer in My Shoes?
Yes, but use toe warmers designed for footwear rather than standard pocket warmers. Toe warmers are thinner and often have an adhesive backing that sticks to your socks. Place them on top of your toes, outside the sock, so they don’t press against bare skin. This keeps your feet cozy during cold weather without crowding your boots.
Conclusion
Staying warm outdoors comes down to picking the right warmer and activating it the smart way. Once you know how to use a hand warmer, chilly commutes and winter adventures feel far more comfortable.
Choose your type, activate it early, and position it where the heat counts most. With a little practice, you’ll never dread the cold again. If you haven’t stocked up yet, check out our recommended picks above. Ready for your next cold-weather project? Explore our other tool and gear guides on the site.
