
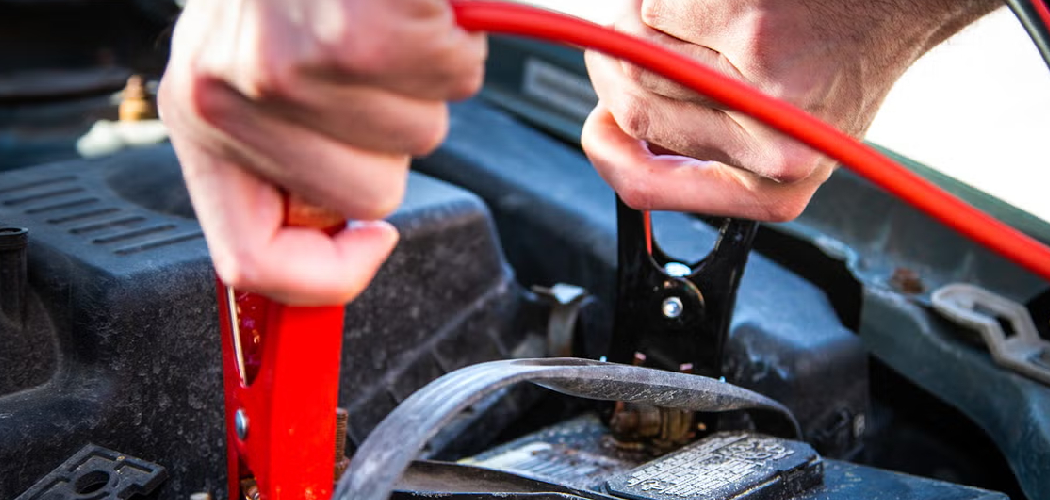
You slide into the driver’s seat, turn the key, and hear that heart-sinking click-click-click. The engine won’t turn over, and you’ve got somewhere to be. A dead battery is one of those small disasters every driver faces eventually. The good news? Learning how to use battery charger on car is simpler than you’d think, and it can save you a costly tow or a frantic call for help.
In this guide, you’ll learn exactly how to hook up a charger, choose the right settings, and stay safe while doing it. We’ll cover everything from connecting the battery terminals to knowing when the job is done. Grab your charger and let’s bring that battery back to life.
What You’ll Need
Get these items together before you start so you’re not hunting around mid-job.
- A car battery charger (a smart charger is the easiest for beginners)
- Safety glasses and work gloves
- A clean rag or paper towels
- A wire brush or battery terminal cleaner
- Baking soda and water (for cleaning corrosion)
- Your car’s owner’s manual
- A dry, well-ventilated space to work
- A voltmeter or multimeter (optional, for checking battery voltage)
If you’re shopping for a charger, look for one with automatic shutoff. These smart models sense when the battery is full and stop charging on their own. That single feature prevents overcharging and takes a lot of guesswork off your plate.
Step-by-Step Guide on How to Use Battery Charger on Car
Work through these steps in order. Each one builds on the last, so by the end you’ll feel confident handling your battery like a pro.
Step 1: Read Your Owner’s Manual First
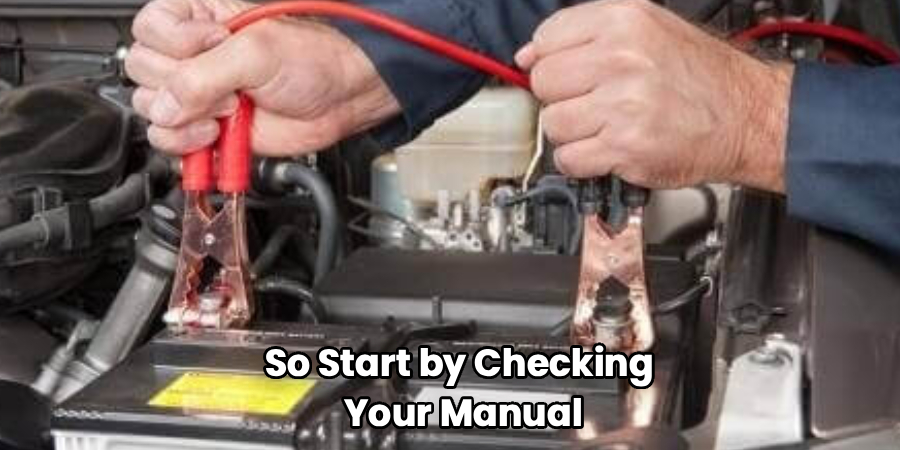
Every car is a little different, so start by checking your manual. It tells you where the battery sits, what voltage it uses, and whether you need to remove it before charging. Most modern cars run a 12-volt lead-acid battery, but confirming saves you trouble.
Some vehicles have sensitive electronics that prefer the battery stays connected. Others recommend disconnecting it entirely. Two minutes of reading now prevents a headache later.
Step 2: Park Safely and Turn Everything Off
Pull your car into a dry, well-ventilated spot like a garage or driveway. Set the parking brake and switch off the ignition, headlights, radio, and anything else that draws power. Leaving accessories on can interfere with the charge and waste energy.
Ventilation matters more than people realize. Charging a lead-acid battery can release small amounts of hydrogen gas, which is flammable. Keep the area open and skip any open flames or sparks nearby.
Step 3: Put On Your Safety Gear
Battery acid is no joke, so protect yourself before you touch anything. Slip on your safety glasses and work gloves to guard against splashes and corrosion. Car batteries hold sulfuric acid, which can burn skin and damage eyes in seconds.
Keep baking soda close by too. If any acid spills, a paste of baking soda and water neutralizes it fast. Taking these precautions costs nothing and keeps a simple job from turning into an injury.
Step 4: Inspect and Clean the Battery Terminals
Take a close look at your battery terminals before connecting anything. If you spot white or bluish crusty buildup, that’s corrosion, and it blocks a good connection. Mix baking soda with a little water, scrub the terminals with a wire brush, then wipe them dry.
Clean terminals let the charge flow freely and speed up the whole process. While you’re there, check the battery case for cracks or leaks. A damaged battery should be replaced, not charged.
Step 5: Connect the Charger Cables Correctly
Here’s where getting the order right really counts. With the charger unplugged and switched off, attach the red positive clamp to the positive terminal, marked with a plus sign. Then attach the black negative clamp to the negative terminal or a clean, unpainted metal spot on the engine block.
Double-check that the clamps grip firmly and don’t touch each other. Reversing the connections is the most common mistake, and it can damage your car’s electronics or the charger. Slow down and confirm red-to-positive, black-to-negative before moving on.
Step 6: Set the Voltage and Amperage
Now dial in the right settings on your charger. Match the voltage to your battery, which is almost always 12 volts for cars. For amperage, a lower setting around 2 to 10 amps gives a slower, gentler charge that’s better for battery health.
A higher amperage charges faster but generates more heat and stress. If you have time, go slow. Many smart charger models handle this automatically, picking the ideal rate based on your battery’s condition.
Step 7: Plug In and Start Charging
With everything connected and set, plug the charger into the wall outlet and switch it on. You should see a light or display showing the charge is underway. A completely dead battery can take anywhere from a few hours to overnight, depending on the amperage.
Resist the urge to rush it. If you understand how to use battery charger on car the right way, you know patience gives you a longer-lasting battery. Check on it occasionally, but let the charger do its work.
Step 8: Monitor the Charge and Check Progress
Keep an eye on the charger as it runs, especially with older manual models. A smart charger will tell you when the battery reaches full charge and often shut off by itself. If yours doesn’t, use a voltmeter to check battery voltage.
A fully charged 12-volt battery reads around 12.6 to 12.8 volts when the car is off. If the battery gets hot to the touch or you hear excessive bubbling, stop charging right away. Those are signs of trouble worth investigating.
Step 9: Disconnect Safely and Test the Car
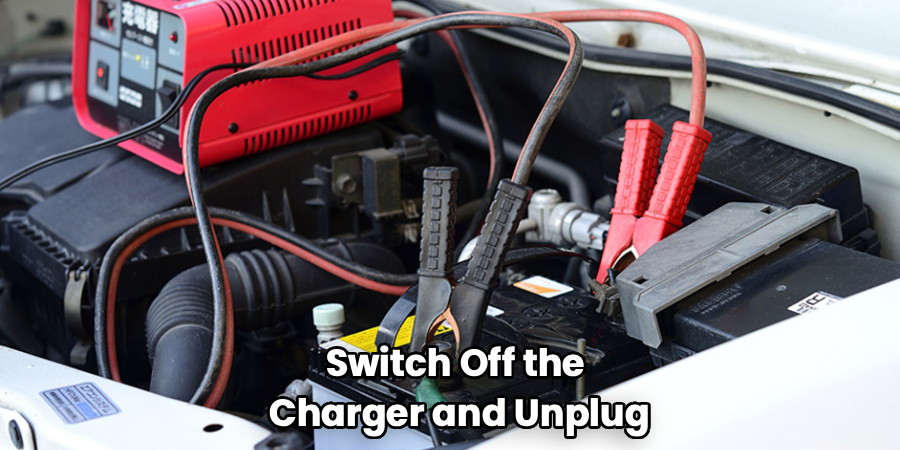
Once charging finishes, switch off the charger and unplug it from the wall first. Then remove the black negative clamp, followed by the red positive clamp. Doing it in this order reduces the risk of sparks near the battery.
Now hop in and start your car. If it fires right up, you’ve done it. If it still struggles, your battery may be too old to hold a charge and might need replacing.
Tips for Best Results
These extra pointers come from real experience and will help you get the most out of every charge.
- Use a trickle charger for storage. If your car sits unused for weeks, a trickle charger keeps the battery topped off at a low, steady rate. This prevents the slow drain that kills batteries in vehicles that rarely move.
- Charge before you jump start. A jump start gets you moving in an emergency, but it stresses the battery and alternator. Whenever you have the time, a proper charge is far kinder to your electrical system.
- Watch the temperature. Batteries charge best in moderate conditions. Extreme cold slows the process, while excessive heat can be dangerous, so avoid charging in freezing or scorching environments when possible.
- Test your battery’s health yearly. A quick voltmeter check tells you if your battery is weakening before it strands you. Catching a dying lead-acid battery early beats getting surprised on a cold morning.
- Keep connections tight and clean. Loose or corroded battery terminals cause charging problems and hard starts. A dab of dielectric grease after cleaning helps keep corrosion from creeping back.
Tips for Knowing How to Use Battery Charger on Car Long-Term
A little routine care goes a long way. Charge your battery fully rather than in short bursts, since partial charges shorten its lifespan over time. Store your charger somewhere dry and coil the cables neatly to avoid damage.
If you drive short distances often, your battery may never fully recharge from the alternator alone. An occasional top-up with a smart charger keeps it strong. These small habits add years to your battery’s life.
Frequently Asked Questions
How Long Does It Take to Charge a Car Battery?
Charging time depends on how dead the battery is and your charger’s amperage. A low 2-amp charge on a fully drained battery can take 24 hours or more, while a 10-amp charge might finish in a few hours. Slower charging is gentler and better for long-term battery health. A smart charger will simply stop once the battery reaches full charge.
Can I Charge My Car Battery Without Disconnecting It?
In most modern cars, yes, you can charge the battery while it stays connected. Just make sure the ignition and all accessories are switched off first. However, some vehicles with sensitive electronics recommend disconnecting the negative terminal, so check your owner’s manual. When in doubt, disconnecting adds an extra layer of safety.
Is It Safe to Leave a Battery Charger on Overnight?
Leaving a smart charger on overnight is generally safe because it automatically stops when the battery is full. Older manual chargers are riskier since they keep pushing current and can overcharge the battery. If you use a manual charger, check on it regularly and don’t leave it unattended for long stretches. When possible, choose a charger with automatic shutoff for peace of mind.
What’s the Difference Between a Trickle Charger and a Regular Charger?
A regular charger pushes a higher amperage to refill a battery quickly. A trickle charger delivers a slow, steady low-amp charge designed to maintain a battery over long periods. Trickle chargers are perfect for cars in storage or vehicles you rarely drive. Many smart chargers combine both functions in one unit.
How Do I Know if My Battery Is Fully Charged?
The easiest way is to check the battery voltage with a voltmeter. A fully charged 12-volt battery reads about 12.6 to 12.8 volts with the engine off. If you’re using a smart charger, it usually displays the charge level or shows a green light when finished. Anything below 12.4 volts means the battery could use more time.
Why Won’t My Car Start Even After Charging?
If your car still won’t start after a full charge, the battery may be too old to hold power. Batteries typically last three to five years, and an aging lead-acid battery loses capacity over time. Corroded battery terminals or a faulty alternator could also be the culprit. Have the battery and charging system tested to pinpoint the real issue.
Conclusion
Bringing a dead battery back to life is a genuinely satisfying skill, and now you’ve got it. Knowing how to use battery charger on car means fewer stressful mornings and more confidence under the hood. Just remember the essentials: work safely, connect the clamps in the right order, match your voltage and amperage, and let the charge finish properly.
If you haven’t picked up a reliable charger yet, check out our recommended picks above to find one that fits your needs. Ready to learn more? Browse our other car care guides and keep your vehicle running strong.
