
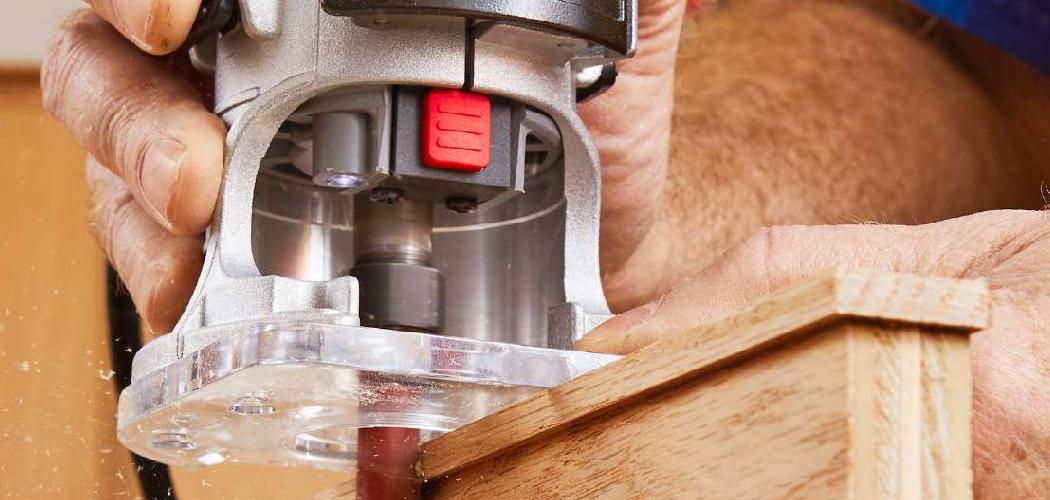
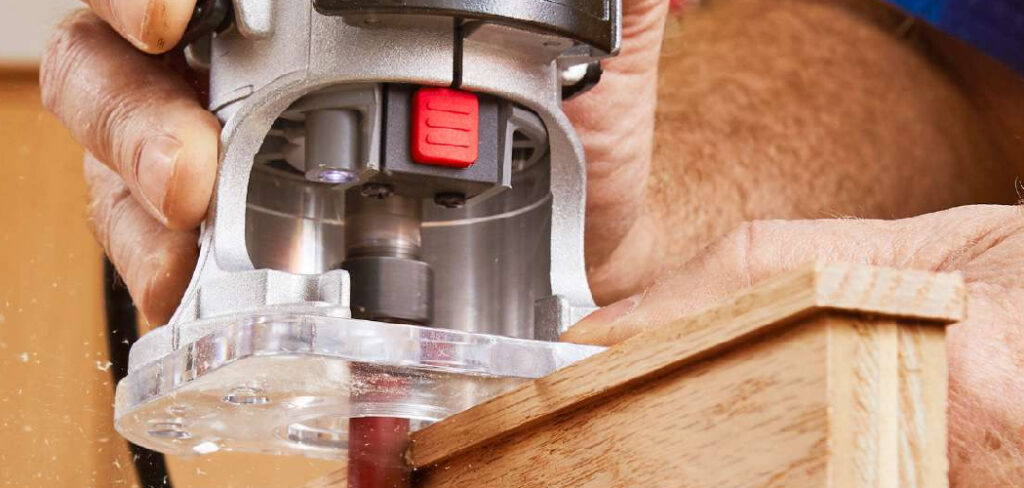
You’ve glued a strip of edge banding onto a shelf, but it hangs over the sides in a ragged, uneven mess. Trimming it by hand with a knife? Slow, sloppy, and frustrating. This is exactly where a flush trim router bit earns its place in your shop. Learning how to use a flush trim router bit turns that messy overhang into a clean, seamless edge in seconds.
In this guide, you’ll learn what this handy bit does, how to set it up safely, and how to make smooth cuts every time. We’ll cover template routing, laminate trimming, and the small tricks that separate a rough result from a professional one. Grab your router and a scrap piece of wood, and let’s get you cutting flush edges with confidence.
What Is a Flush Trim Router Bit?
A flush trim router bit is a straight cutting bit with a bearing mounted on the tip. That pilot bearing rides along a template or a reference surface while the cutting edges shave off anything that sticks out beyond it. The result is a second piece cut perfectly flush with the first. Woodworkers use it for pattern work, trimming edge banding, and laminate trimming, making it one of the most versatile bits you can own.
What You’ll Need
Gather these items before you start so you’re not scrambling mid-project.
- A router (a handheld trim router or a full-size plunge router both work)
- A flush trim router bit sized for your job
- A template, pattern, or reference edge to follow
- Clamps or double-sided tape to hold your workpiece
- Your workpiece plus a scrap board for testing
- Safety glasses and hearing protection
- A dust mask or shop vacuum for cleanup
- A pencil for marking your cut direction
- Push blocks or a router table (optional, for smaller pieces)
If you plan to do a lot of template routing, keep a few bits of different lengths on hand. Longer bits handle thicker stock, while shorter ones give you better control.
Step-by-Step Guide on How to Use a Flush Trim Router Bit
Follow these steps in order. Each one builds on the last, so by the end you’ll be making clean flush cuts like it’s second nature.
Step 1: Choose the Right Bit for the Job
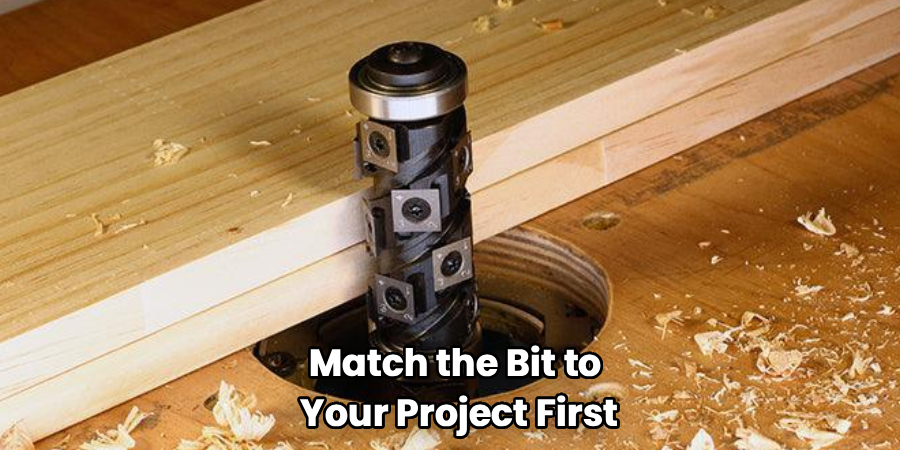
Not every flush trim bit is the same, so match the bit to your project first. A short bit works great for trimming edge banding or thin laminate, while a longer bit handles pattern work on thicker boards. Check whether the bearing sits on the tip (top-bearing) or the shank (bottom-bearing), since that changes how you position your template.
Top-bearing bits let the template sit on top of your workpiece. Bottom-bearing bits want the template underneath. Picking the wrong style is the most common beginner mistake, so double-check before you cut.
Step 2: Secure Your Workpiece and Template
A shifting board ruins a cut fast, so lock everything down before the router touches wood. Clamp your workpiece firmly to your bench, keeping the clamps clear of the bit’s path. If clamps get in the way, double-sided tape holds a template surprisingly well.
Make sure your template edge is smooth and free of bumps, because the bearing copies every flaw. Any dip or dent transfers straight into your finished edge. Take a moment to run your finger along the template and feel for imperfections.
Step 3: Install the Bit in Your Router
Unplug your router before you swap any bit. Insert the shank into the collet, leaving about an eighth of an inch of space so the bit isn’t bottomed out. Tighten the collet firmly with the wrenches, but don’t overdo it and strip the threads.
Give the bit a gentle tug to confirm it’s locked in place. A loose bit can slip during a cut, which is both dangerous and destructive. This quick check takes two seconds and saves you real headaches.
Step 4: Set the Correct Cutting Depth
Adjust the bit so the bearing lines up flush against your template or reference edge. The cutting edges should cover the full thickness of the material you’re trimming. If the bit is too short to reach, you’ll leave an uncut lip that needs a second pass.
For thick stock, plan on making several shallow passes instead of one deep cut. Removing too much material at once strains the motor and causes burning or tear-out. Patience here gives you a smoother flush cut with far less cleanup.
Step 5: Understand Feed Direction
Feed direction matters more than almost anything else when you learn how to use a flush trim router bit. For handheld routing on an outside edge, move the router from left to right. This pushes the spinning bit into the wood and keeps you in control.
Going the wrong way causes “climb cutting,” where the router lurches forward and can jerk out of your hands. Mark an arrow on your workpiece as a reminder before you switch the tool on. Getting this right protects both your project and your fingers.
Step 6: Make a Test Pass on Scrap
Never let your first cut be on the real piece. Grab a scrap board, clamp a template to it, and run a practice pass. This confirms your bearing height, feed direction, and depth are all dialed in correctly.
Watch how the bit behaves and listen to the motor. If you see burning or feel the router bogging down, slow your feed rate or take a lighter pass. A minute of testing now prevents a ruined workpiece later.
Step 7: Rout the Edge Smoothly
Turn on the router and let it reach full speed before you make contact. Keep the bearing pressed lightly against the template the entire time and move at a steady pace. Too slow and you’ll scorch the wood; too fast and you’ll get a rough, chattery edge.
Keep both hands on the router and your body balanced so you never lose control. Follow the shape of your template all the way through in one continuous motion when you can. Consistent pressure and speed give you that clean, glassy flush cut everyone wants.
Step 8: Handle Corners and Grain Changes

Corners and end grain are where tear-out loves to happen. When you reach a corner, ease off your speed and guide the bit around gently rather than forcing it. On end grain, take a lighter pass since those fibers chip out more easily.
If your project has curves, let the bearing follow the template naturally and resist the urge to steer. A router table gives you extra stability for small or curvy pieces. Slowing down at these tricky spots keeps your edges crisp and splinter-free.
Step 9: Inspect and Clean Up the Edge
Once you finish the pass, switch off the router and let the bit stop spinning completely. Run your hand along the edge to feel for any high spots or missed sections. A quick second pass fixes small imperfections without much effort.
Lightly sand the edge with fine sandpaper to knock down any tiny fuzz or burn marks. Wipe away the dust and check your work in good light. This final touch makes the difference between “okay” and truly professional.
Tips for Best Results
These pointers come from plenty of time behind a router and will save you frustration.
- Keep your bearing clean. Sawdust and pitch build up on the pilot bearing and cause it to stick or leave marks. A quick spritz of cleaner and a wipe keeps it spinning freely and tracking accurately.
- Rough-cut before you trim. Use a jigsaw or bandsaw to cut within about a sixteenth of an inch of your line first. The flush trim router bit then removes only a whisper of material, giving you cleaner results with less strain on the tool.
- Watch your grain direction. Whenever possible, route “downhill” with the grain to avoid tear-out. If you hit a spot that chips, flip your approach or take a very light finishing pass.
- Use a router table for small parts. Trying to balance a handheld router on a tiny workpiece is risky. Mounting the router in a table lets you guide the piece safely with push blocks.
- Replace dull bits promptly. A dull bit burns, chatters, and tears the wood. Sharp cutting edges make template routing feel effortless and leave a surface that barely needs sanding.
Frequently Asked Questions
What Is a Flush Trim Router Bit Used For?
A flush trim bit trims one piece of material perfectly even with another. Woodworkers use it for pattern work, copying shapes from a template, trimming edge banding, and laminate trimming on countertops. The bearing follows your reference surface while the blades shave off the excess. It’s a go-to bit for anyone who wants clean, matched edges.
Can I Use a Flush Trim Bit in a Handheld Router?
Yes, a handheld router is one of the most common ways to use this bit. It works well for larger workpieces and long edges where you can keep the router balanced. Just clamp your material securely and mind your feed direction to stay safe. For small or delicate pieces, a router table gives you better control.
How Deep Should I Cut With a Flush Trim Router Bit?
Set the depth so the bearing rides against your template while the cutting edges cover the full thickness of the material you’re trimming. For thin stock like edge banding, a single pass usually does the job. With thicker material, take several shallow passes instead of forcing one deep cut. This protects your motor and gives you a smoother flush cut.
Why Is My Router Bit Burning the Wood?
Burning usually means you’re moving too slowly or your bit has gone dull. When the bit lingers in one spot, friction scorches the wood. Speed up your feed rate slightly and keep the router moving at a steady pace. If a sharp bit still burns, clean off any pitch buildup on the cutting edges.
Is a Top-Bearing or Bottom-Bearing Bit Better?
Neither is universally better; they simply suit different setups. A top-bearing bit works when your template sits on top of the workpiece, which is handy for router table work. A bottom-bearing bit follows a template placed underneath, ideal for many handheld jobs. Many woodworkers keep both so they’re ready for any project.
Can I Trim Laminate With a Flush Trim Bit?
Absolutely, laminate trimming is one of this bit’s classic uses. After gluing laminate to a substrate, the bearing rides along the substrate edge while the blades trim the overhang flush. Take a light pass and keep the router moving to avoid chipping the brittle laminate. A sharp bit gives you the cleanest edge with minimal cleanup.
Conclusion
Getting comfortable with this tool opens up a whole new range of woodworking projects, from perfect templates to crisp laminate edges. Now that you know how to use a flush trim router bit, remember the essentials: pick the right bit, secure your work, mind your feed direction, and take light passes for a clean flush cut. With a little practice, it’ll feel automatic.
If you haven’t added a quality bit to your kit yet, check out our recommended picks above to find a reliable set. Ready for more? Browse our other woodworking guides and tackle your next build with confidence.
