
You’re all set for a ride, helmet on, water bottle filled, and then you notice it. Your tire looks soft, maybe even flat. That sinking feeling hits hard when you’re ready to go but your wheels aren’t. The good news? Learning how to use a bike pump takes just a few minutes, and once you know it, you’ll never get stuck again.
In this guide, you’ll learn exactly what to grab, how to match your pump to your valve, and how to hit the right tire pressure every time. Whether you ride daily or just dust off your bike on weekends, these simple steps will keep you rolling smoothly and safely. Let’s get your tires firm and your ride ready.
What You’ll Need
Before you start, gather a few basics. Keeping everything close makes the whole job quick and painless.
- A bike pump (a floor pump for home or a mini hand pump for travel)
- Your bike with the tires you want to inflate
- The recommended PSI number (printed on your tire sidewall)
- A valve adapter (optional, but handy if your pump doesn’t fit your valve type)
- A rag or cloth to wipe away road grime near the valve
- Good lighting so you can see the valve and gauge clearly
- A few minutes of patience for your first try
That’s really all it takes. Once you have these on hand, you’re ready to pump with confidence.
Step-by-Step Guide on How to Use a Bike Pump
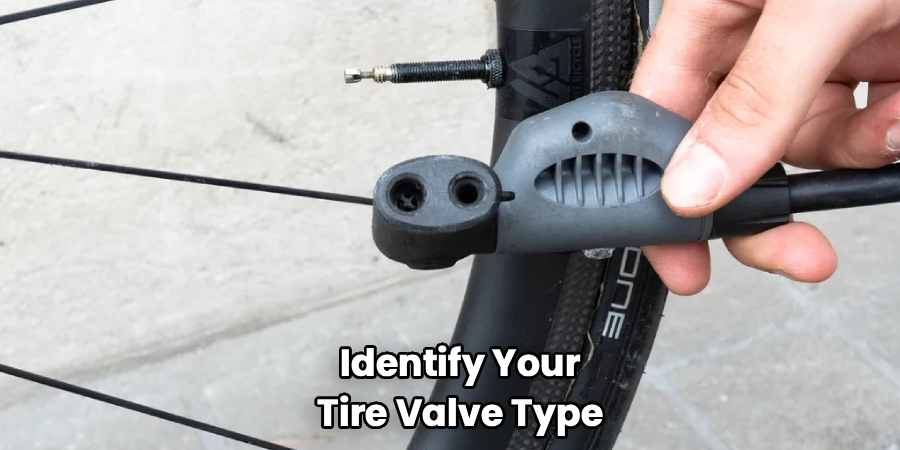
Step 1: Identify Your Tire Valve Type
First things first, check which valve your bike uses. There are two common kinds: the Schrader valve and the Presta valve. A Schrader valve is short and wide, just like the ones on car tires.
A Presta valve is thin, tall, and has a small lock nut at the top that you twist to open. Knowing your valve type matters, because your pump head has to match it. Take a quick look now, and you’ll save yourself confusion later.
Step 2: Check the Recommended PSI
Every tire has a sweet spot for air pressure, measured in PSI (pounds per square inch). Look at the sidewall of your tire, and you’ll spot a range printed right there. Road bikes usually run high, often 80 to 130 PSI, while mountain bikes sit much lower, around 30 to 50 PSI. Riding on too little air makes pedaling harder and risks damage. Too much air gives a rough, bouncy ride. Aim for the middle of the range if you’re unsure.
Step 3: Prep the Valve
Now get your valve ready to accept air. For a Schrader valve, simply unscrew and remove the little dust cap. For a Presta valve, remove the cap, then unscrew the small lock nut at the top until it stops.
Give the tip a quick press to release a tiny puff of air, which confirms it’s open. Wipe away any dirt around the valve with your rag. A clean, open valve makes for a tight, leak-free seal.
Step 4: Attach the Pump Head Correctly
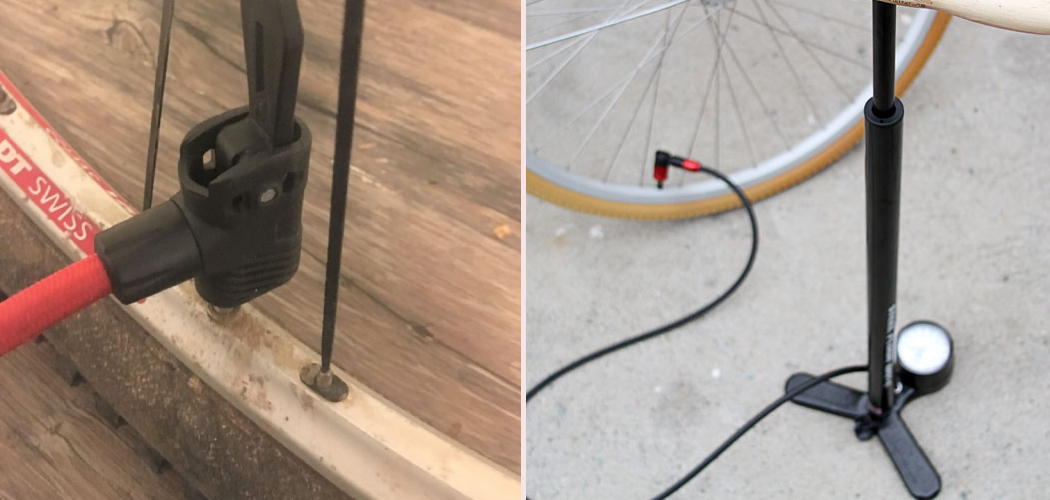
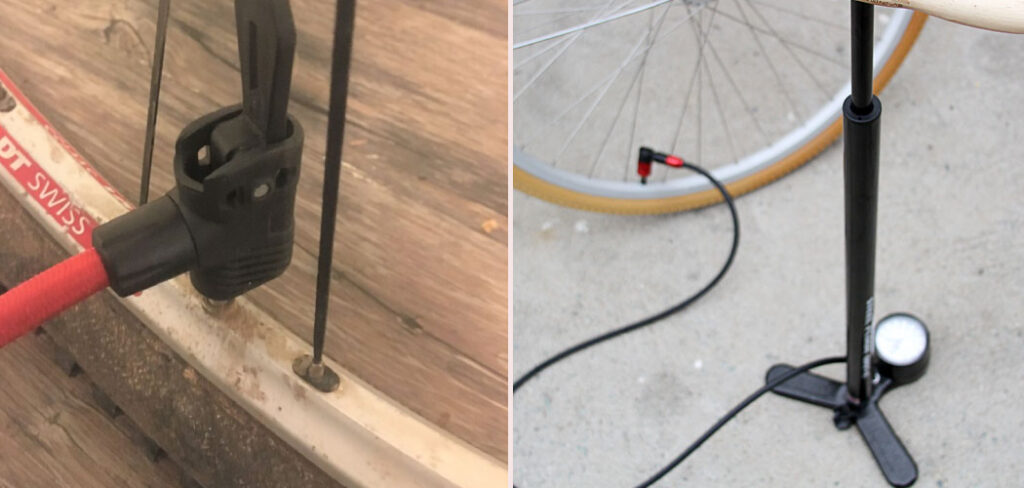
Push the pump head straight onto the valve, keeping it aligned so you don’t bend anything. Many floor pumps have a lever that locks the head in place, so flip it up once it’s seated.
If your pump head has two holes, one is for Presta and one for Schrader, so use the matching side. A common mistake is attaching it crooked, which lets air escape. You should feel a snug fit with no hissing. If air leaks, remove it and try again.
Step 5: Start Pumping With Steady Strokes
Here’s where the action happens. Grab the handle and push down with smooth, full strokes, using your body weight rather than just your arms. Keep your strokes even and controlled instead of quick and jerky.
You’ll feel resistance build as air fills the tire, which is completely normal. Stand over a floor pump for better leverage and less strain. Take your time, and let the pump do the work.
Step 6: Watch the Pressure Gauge
Most floor pumps have a gauge that shows your PSI as you go. Glance at it often so you don’t overshoot your target. Stop pumping once the needle reaches your recommended tire pressure. If your pump lacks a gauge, give the tire a firm squeeze to judge it, though a gauge is far more accurate. Don’t rely on guesswork for high-pressure road tires, since being off can affect your ride and safety. Precision here pays off.
Step 7: Remove the Pump Head Cleanly
Once you hit the right pressure, it’s time to disconnect. Flip the locking lever back down if your pump has one. Then pull the head straight off in one quick, confident motion. Hesitating or wiggling it can let air escape or bend a Presta valve. You might hear a small hiss, and that’s just the leftover air in the pump, not your tire deflating. A clean pull keeps your pressure right where you want it.
Step 8: Close and Secure the Valve
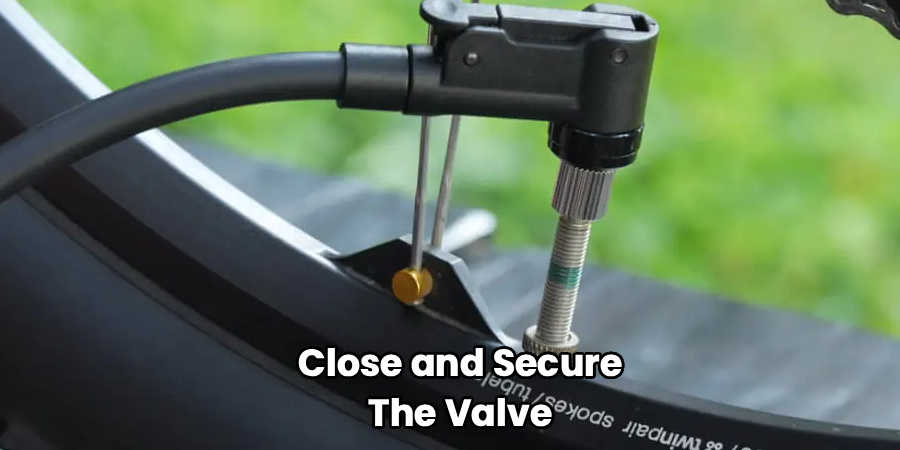
Don’t skip this final touch. For a Presta valve, screw the small lock nut back down snugly to seal it, then replace the cap. For a Schrader valve, simply screw the dust cap back on. These caps keep dirt and moisture out of the valve, which helps prevent slow leaks over time. It only takes a second, but it protects your hard work. Now give the tire one more squeeze to confirm it feels firm.
Step 9: Do a Quick Safety Check
Before you roll out, take a moment to inspect both tires. Make sure they feel evenly firm and look properly seated on the rim. Spin each wheel and watch for wobbles or bulges, which could signal a problem. Check that the valve sits straight and the cap is on.
This habit takes seconds and catches small issues before they turn into flats on the road. A little inspection now means a smoother, safer ride ahead.
Tips for Best Results
Ready to get even better at this? These insider pointers make a real difference.
- Check your pressure weekly. Tires slowly lose air over time, even without a leak. A quick top-up keeps every ride smooth and protects against pinch flats.
- Buy a floor pump for home. Mini pumps are great for emergencies, but a floor pump with a gauge makes inflation faster, easier, and far more accurate.
- Grab a valve adapter. A cheap Presta-to-Schrader adapter lets you use gas station air or a friend’s pump in a pinch. Keep one in your saddle bag.
- Adjust for conditions. Run slightly lower pressure for grip on wet or rough terrain, and a bit higher for smooth pavement and speed. Small tweaks change your whole ride feel.
- Warm up cold tires. Air pressure drops in cold weather, so check your PSI when temperatures swing. You may need to add a little air on chilly mornings.
FAQ Section
What Type of Bike Pump Do I Need?
It depends on where and how you ride. A floor pump is ideal for home use because it fills tires quickly and includes an accurate pressure gauge. A compact hand pump fits in a bag or mounts on your frame for on-the-go repairs. Many pumps now handle both Presta and Schrader valves, so look for a dual-head model for the most flexibility.
How Do I Know When My Tire Is Full?
Check the pressure gauge on your pump and stop when it reaches the PSI printed on your tire’s sidewall. If your pump has no gauge, press the tire firmly with your thumb, and it should feel solid with very little give. Road tires need to feel quite hard, while mountain bike tires stay a bit softer. When in doubt, aim for the middle of the recommended range.
Can I Use One Pump for Both Valve Types?
Yes, many modern pumps work with both the Presta valve and the Schrader valve. Some have a dual head with two openings, while others use a reversible internal piece you flip to switch types. If your pump only fits one, a small screw-on adapter solves the problem cheaply. Just double-check compatibility before you buy so it matches your bike.
Is It Safe to Overinflate My Tires?
No, going over the maximum PSI can be risky. Too much pressure creates a harsh, bouncy ride and raises the chance of a sudden blowout. It also reduces your grip on the road, especially in corners. Always stay within the range printed on your tire sidewall, and lean toward the middle if you want a comfortable, balanced ride.
Why Does My Tire Keep Losing Air?
Slow air loss is normal, since tires lose a little pressure naturally over days or weeks. If it deflates quickly, though, you may have a puncture, a damaged valve, or a loose valve core. Check the tire for embedded debris and make sure the valve is closed tightly. If air keeps escaping fast, it’s time to inspect the tube or seek a repair.
How Often Should I Check My Tire Pressure?
A quick weekly check keeps your tires in top shape and your rides smooth. Frequent riders may want to check before every ride, especially on high-pressure road tires that lose air faster. Temperature changes also affect pressure, so check more often when the weather shifts. Building this small habit prevents flats and makes pedaling easier.
Conclusion
You now have everything you need to use a bike pump like a pro. Remember the essentials: match your pump to your valve, aim for the right PSI, and give your tires a quick check before every ride. With a little practice, this whole routine takes just a couple of minutes. If you haven’t picked up a reliable pump yet, check out our picks above to find the right fit.
Want to keep learning? Explore our other guides on bike maintenance and tool care to keep your rides smooth and worry-free. Happy cycling!
