
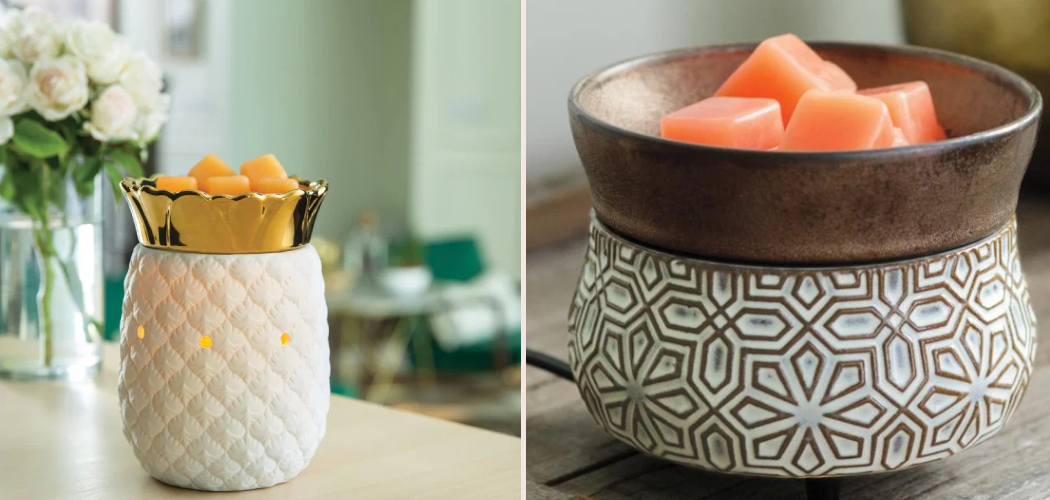
Your home smells a little stale, and lighting a candle feels risky with kids or pets running around. You want that cozy, fresh scent without an open flame. A wax warmer solves this perfectly. It gently melts scented wax to fill your space with fragrance, no fire required. Whether you picked one up on a whim or received it as a gift, you might be staring at it wondering where to start.
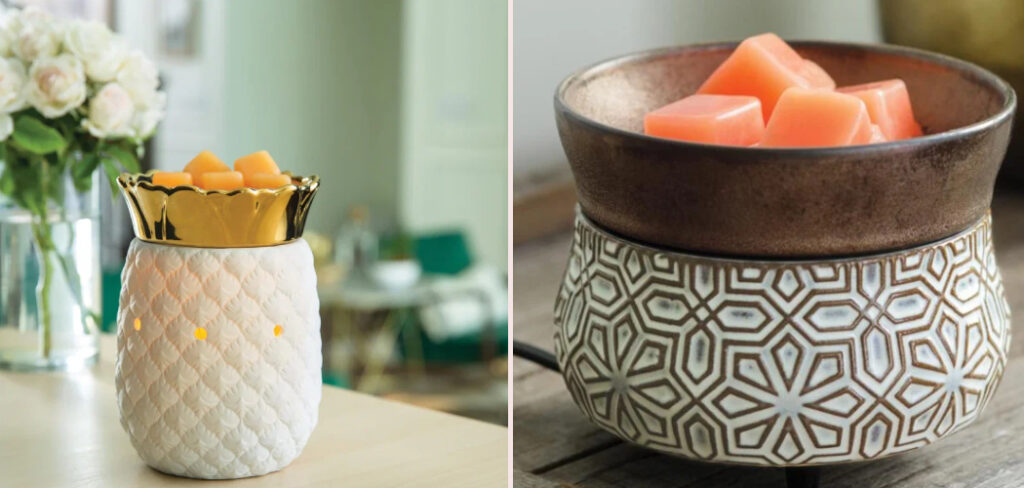
Good news: using one is simple once you know the basics. In this guide, you’ll learn exactly what supplies you need, How to Use a Wax Warmer step by step, and a few insider tricks for the best scent throw. By the end, you’ll be a pro at filling any room with your favorite fragrance.
What You’ll Need
Before you begin, gather a few basics. Having everything ready makes the process smooth and mess-free.
- A wax warmer (electric plug-in or tea light style)
- Scented wax melts or wax cubes
- A tea light candle (only if you have a non-electric model)
- A lighter or long matches (for tea light models)
- Paper towels or cotton balls for cleanup
- A small spatula or butter knife
- A heat-safe surface or trivet
- Optional: extra melting dish or liner for easy swaps
Step-by-Step Guide on How to Use a Wax Warmer
Step 1: Pick the Right Spot
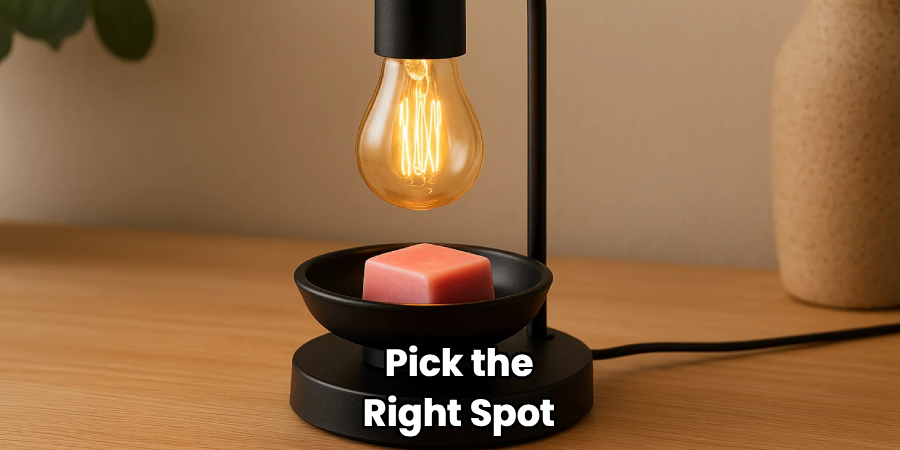
Location matters more than you might think. Set your warmer on a flat, stable, heat-resistant surface away from the edge of a table. Keep it clear of curtains, papers, and anything flammable, especially if you’re using a tea light version. Choose a central spot in the room so the fragrance can spread evenly. If it’s an electric model, make sure an outlet is close enough that the cord isn’t stretched or dangling. A good spot keeps things safe and helps the scent travel farther.
Step 2: Understand Your Warmer Type
Take a moment to figure out which style you own. Electric warmers heat the melting dish from below using a small bulb or a hot plate. Tea light models use a real flame underneath to warm the wax above. Each works a little differently, so knowing yours helps you use it correctly. Electric versions are great if you want a flame-free option, while tea light styles add a soft glow. Read any label or instructions that came with it, since heat settings can vary between brands.
Step 3: Add Your Wax Melts
Now for the fun part. Break off one or two wax cubes and place them gently into the melting dish at the top. Avoid overfilling, because too much wax can spill over as it liquefies. If you’re using a scent warmer with a deep dish, one or two cubes usually create plenty of fragrance.
Handle the melts with clean, dry hands so no debris gets into the wax. Start small, since you can always add another cube later if the scent feels too faint.
Step 4: Power It On or Light the Candle
For electric models, simply plug it in and flip the switch if there is one. Some have a dimmer or timer, so adjust those to your liking. For a tea light warmer, place a fresh tea light in the base and light it carefully with a long match or lighter. Keep your fingers clear of the flame and never leave it unattended while lit. Within a few minutes, you’ll notice the wax starting to soften and melt. That’s your cue that everything is working as it should.
Step 5: Let the Wax Melt Fully
Patience pays off here. Give the wax a few minutes to melt into a smooth, liquid pool. As it warms, the fragrance oils release into the air and start filling the room. Resist the urge to touch or move the dish while the wax is hot, since it can burn you or spill. The full scent usually develops within five to ten minutes. Once you catch that first wave of fragrance, you’ll know your fragrance warmer is doing its job.
Step 6: Adjust for the Perfect Scent Level
Not every room needs the same amount of fragrance. If the scent feels too strong, remove a cube or switch to a lower heat setting if your model allows. If it’s too subtle, add another wax melt or move the warmer to a more open area. Larger rooms naturally need a bit more wax to fill the space. Keep in mind that your nose adjusts over time, so what seems faint to you may smell perfect to guests. A little experimenting helps you find your sweet spot.
Step 7: Turn It Off Safely
When you’re done, always power down properly. Unplug an electric warmer and let the wax cool before touching the dish. For tea light models, blow out the flame and make sure it’s fully extinguished. Never leave a lit warmer running overnight or when you leave the house. Give the melting dish time to cool completely before handling it. Building this habit keeps your home safe and extends the life of your device.
Step 8: Change Out the Old Wax
Eventually the fragrance fades, and it’s time for fresh wax. When the melts stop giving off much scent, the oils are used up even though the wax remains. Warm the dish slightly so the wax softens, then wipe it out with a paper towel or cotton ball. You can also pop the hardened wax out with a gentle push once it cools. Clean the dish before adding new cubes so scents don’t clash. A fresh start keeps every session smelling its best.
Step 9: Clean and Store Your Warmer
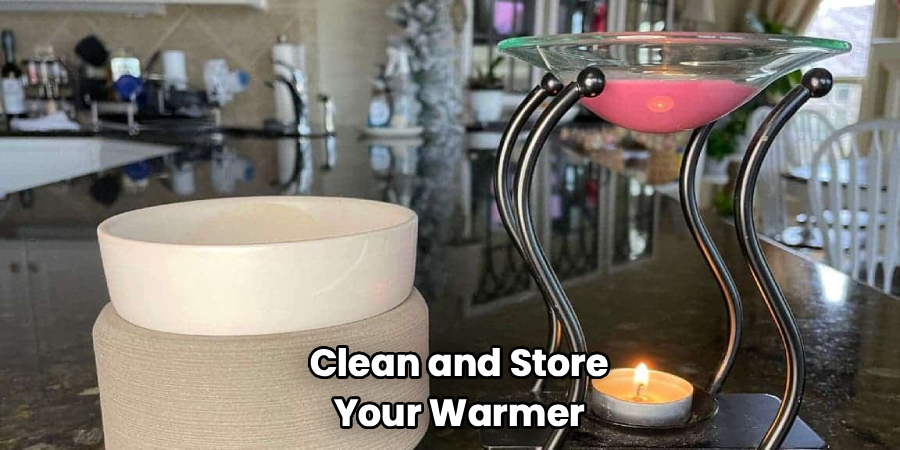
A little upkeep goes a long way. Wipe the melting dish and base with a soft, dry cloth to remove any residue. Avoid soaking electric parts in water, since moisture can damage the heating element. Store your warmer in a cool, dry spot when it’s not in use. Keep a few spare wax cubes nearby so you’re always ready for your next cozy evening. Regular care keeps your device looking good and working reliably for years.
Tips for Best Results
Want to get the most out of every session? These insider tricks go beyond the basics and help you enjoy richer, longer-lasting fragrance.
- Warm up cold rooms first. Scent travels better in a warm space. If a room feels chilly, the fragrance may seem weaker, so give the melts a little extra time to work.
- Rotate your scents. Your nose gets used to a fragrance quickly, a phenomenon called nose blindness. Switching between two or three scents keeps each one smelling fresh and noticeable.
- Use a liner for easy cleanup. Placing a small silicone liner or a bit of wax paper in the dish lets you lift out old wax in one clean piece. This saves you scraping and scrubbing later.
- Match wax quantity to room size. One cube is plenty for a bathroom, but a living room might need two or three. Adjusting the amount prevents overpowering small spaces and underwhelming large ones.
- Keep a small spatula handy. A dedicated tool makes swapping wax quick and mess-free. It’s a tiny investment that saves you from sticky fingers and stained surfaces.
Frequently Asked Questions
How Long Does Wax Last in a Warmer?
Most wax melts keep their scent for around eight to ten hours of use before fading. That could mean several days if you only run it for an hour or two at a time. Once the fragrance disappears, the wax itself is still there but the oils are spent. At that point, simply swap in a fresh cube to bring the scent back.
Can I Reuse Wax Melts?
You can keep melting the same wax until the fragrance fully fades, then it’s time to replace it. There’s no benefit to saving used-up wax, since it won’t smell like much once the oils are gone. If you want to try mixing scents, you can combine a couple of fresh cubes for a custom blend. Just avoid overfilling the dish when you experiment.
Is It Safe to Leave a Wax Warmer On?
Electric models are generally safe for extended use, but you should never leave one running unattended overnight or when you’re away from home. Tea light versions use an open flame, so they need even closer supervision. Always place any warmer on a heat-safe surface away from flammable items. When in doubt, switch it off before you leave the room for peace of mind.
Why Can’t I Smell the Fragrance Anymore?
More often than not, this is nose blindness rather than a problem with the wax. Your brain tunes out familiar scents after a while, so the fragrance is still there even if you can’t detect it. Try stepping outside for a few minutes, then coming back in. If it truly has faded, the oils are used up and it’s time for a new cube.
Can I Use Essential Oils Instead of Wax?
Some warmers with a small dish can hold a few drops of essential oil mixed with water, but check your model first. Warmers designed only for wax melts may not handle liquid oils well. If yours supports it, this is a nice way to enjoy natural fragrance. Just never add oil to a dish meant strictly for solid wax cubes.
Conclusion
Filling your home with cozy fragrance doesn’t take any special skill, just a little know-how. Once you understand how to load, heat, and refresh your wax warmer, you’ll enjoy your favorite scents anytime you like.
Remember to start with a small amount of wax, keep safety in mind, and swap in fresh cubes when the fragrance fades. If you haven’t found the perfect one yet, check out our recommended picks above to match your style and space. Ready to keep exploring? Browse our related guides and make your home smell amazing.
