
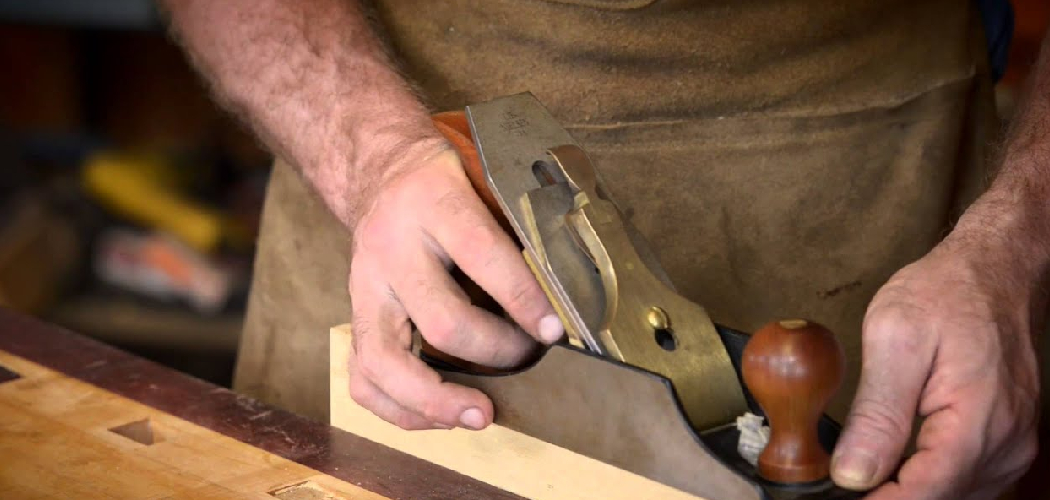
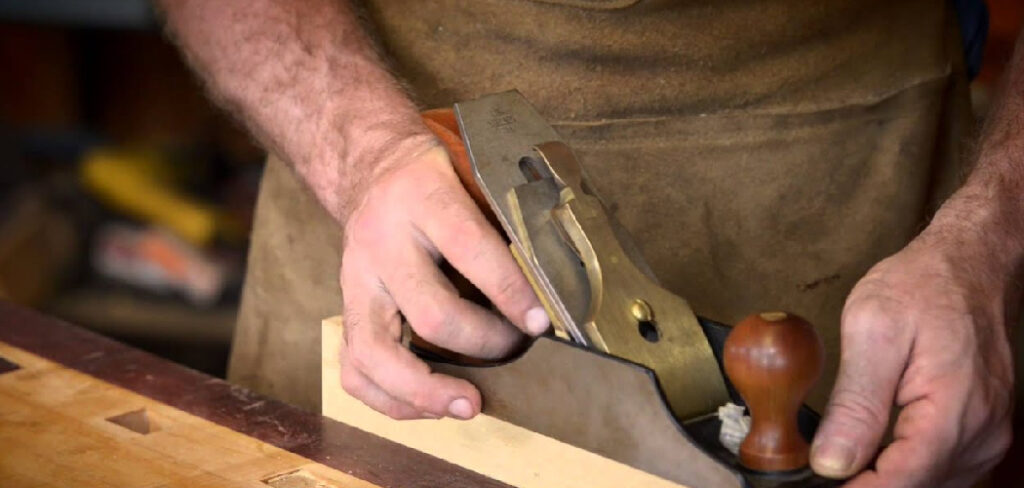
You’ve got a door that sticks every time you close it, or a wooden shelf with rough edges that snag your sleeve. Sanding takes forever, and a saw feels like overkill. This is exactly where a plane tool earns its keep. With a few smooth passes, you can shave off high spots, flatten a warped board, or turn a splintery edge silky smooth.
In this guide, you’ll learn How to Use a Plane Tool and how to work through each step without gouging your wood. We’ll also share expert tips and answer the questions people ask most. By the end, you’ll handle planing with confidence and give your projects that clean, professional finish.
What You’ll Need
Before you make a single pass, gather your gear. Keeping everything close by saves you from stopping mid-stroke and losing your rhythm.
- A hand plane (a No. 4 smoothing plane is a great starter)
- A sharpening stone or honing guide to keep the blade keen
- A workbench with a vise or bench dogs to hold your workpiece
- Pencil for marking high spots
- A straightedge or combination square to check for flatness
- Safety glasses and a dust mask
- A clean rag and a bit of machine oil
- Scrap wood for practice passes
- Fine sandpaper for final touch-ups (optional)
Most of these items are affordable and easy to find. A sharp blade and a stable bench matter more than an expensive tool, so don’t skip either one.
Step-by-Step Guide on How to Use a Plane Tool
Ready to get shaving? Follow these steps in order, and take it slow on your first few passes. Once you feel how the blade glides through the grain, the whole process starts to click.
Step 1: Set Up a Solid Work Area
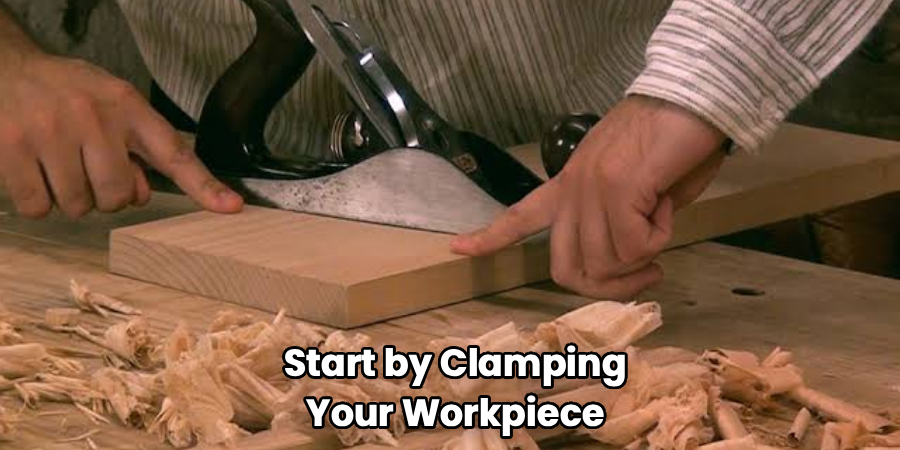
Start by clamping your workpiece firmly to the bench. If the board shifts even a little, your cuts will come out uneven and frustrating. Use a vise, bench dogs, or clamps so the wood stays put through every stroke. Give yourself room to move your whole body, not just your arms.
Good lighting helps you spot ridges and torn grain as you work. A common mistake is planing on a wobbly surface, so make stability your first priority.
Step 2: Check and Sharpen the Blade
A dull blade tears wood instead of slicing it, leaving a rough, fuzzy surface. Before you begin, run your fingertip carefully along the edge to test sharpness. If it feels dull, hone it on a sharpening stone until it can shave a thin curl of paper. Wipe the blade clean and add a light drop of oil to prevent rust.
Sharpening feels like a chore, but it’s the single biggest factor in a clean result. A keen edge does most of the work for you.
Step 3: Adjust the Cutting Depth
Set your blade to take a light cut, especially when starting out. Turn the depth adjustment knob until just a hair of the blade peeks below the sole. You want thin, wispy shavings, not thick chunks that stall the tool. Sight down the bottom of the plane to make sure the blade sits square and even.
Too deep a cut is the top rookie error. It causes tear-out and makes the plane hard to push, so start shallow and adjust as needed.
Step 4: Read the Wood Grain
Look closely at the grain direction before your first pass. Planing with the grain gives you smooth shavings, while going against it tears the fibers and leaves a ragged surface. Run your hand along the board to feel which way the grain flows. When in doubt, make a light test pass and watch how the wood reacts.
If the surface starts tearing, flip the board around and plane the other direction. Reading the grain right saves you hours of cleanup.
Step 5: Position Your Body and Grip
Stand with your feet shoulder-width apart, one foot slightly forward. Grip the rear handle firmly and rest your other hand on the front knob to guide the plane. Your power should come from your legs and hips, not just your wrists. This stance lets you push through the whole board in one smooth, controlled motion.
Planing from the arms alone tires you out fast and leads to uneven strokes. Let your body do the heavy lifting.
Step 6: Make Your First Pass with the Plane Tool
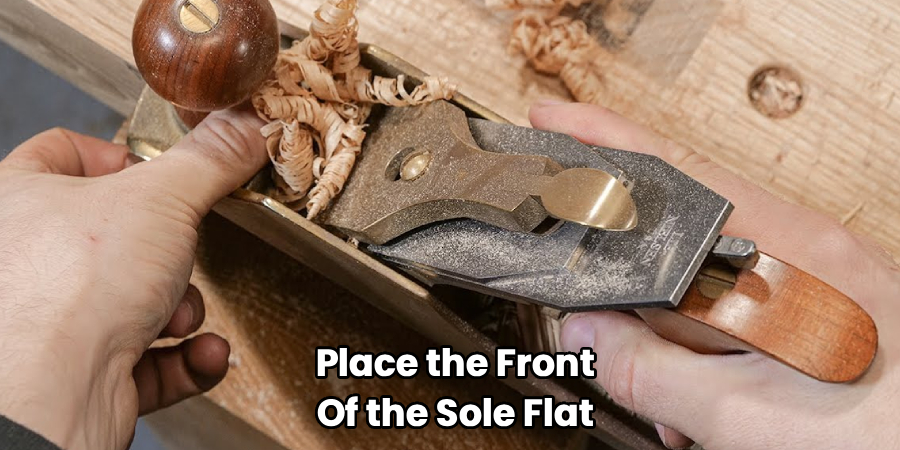
Place the front of the sole flat on the wood and press down on the front knob. Push forward in a steady, continuous stroke, shifting pressure to the rear handle as you reach the end. Keep the plane moving at an even pace from start to finish. Lift it off the wood on the return, then reset for the next pass.
Don’t pause in the middle of a stroke, since that creates dips. Think of it as one flowing motion across the entire length.
Step 7: Check Your Progress Often
After a few passes, stop and inspect your work. Lay a straightedge across the surface to spot any high or low areas. Mark the high spots with a pencil so you know where to focus your next passes. Sight along the edge with one eye to catch subtle bows or twists.
Checking often keeps you from over-planing one section. It’s easier to remove a little more wood than to add it back.
Step 8: Refine and Smooth the Surface
Once the board is flat, take extra-light passes to polish the surface. Reduce the cutting depth slightly and let the sharp blade glide across the grain. These final strokes remove tiny ridges and leave a glassy, professional finish. Overlap each pass a little so you don’t leave lines behind.
For super-smooth results, follow up with a quick pass of fine sandpaper. Wipe away dust and admire that clean, even surface you just created.
Tips for Best Results
Want to plane like a seasoned woodworker? These insider tricks go beyond the basics and save you real frustration.
- Wax the sole for easy gliding. Rub a little paste wax or a candle stub on the bottom of the plane. It cuts friction dramatically, so the tool slides across the wood with far less effort.
- Skew the plane for tough spots. When you hit tricky, figured grain, turn the plane at a slight angle to the direction of travel. This lowers the effective cutting angle and slices cleaner through stubborn fibers.
- Retract the blade when you’re done. Always back the blade off after use so it doesn’t nick anything or dull against your bench. It also protects the edge you worked so hard to sharpen.
- Practice on scrap first. Before touching your real project, run a few passes on scrap wood. This lets you dial in the depth and feel the grain without risking your good material.
- Keep shavings clean and thin. Consistent, translucent curls tell you the setup is dialed in. If shavings come out thick or crumbly, stop and readjust your depth.
Frequently Asked Questions
What Is a Plane Tool Used For?
A plane smooths, flattens, and shapes wood by shaving off thin layers with a sharp blade. Woodworkers use it to level uneven boards, trim sticking doors, and clean up rough edges. It gives you far more control than sandpaper and leaves a crisp, polished surface. Beginners and pros alike reach for one whenever a project needs a truly flat, smooth finish.
How Do I Stop My Plane from Digging In?
Digging in usually means your cutting depth is set too deep. Back the blade off until it barely peeks below the sole, then take lighter passes. Make sure you press down on the front knob at the start and shift to the rear handle at the end. Keeping even pressure throughout the stroke prevents those frustrating gouges.
Can I Use a Hand Plane on Painted Wood?
You can, but it’s not ideal for your blade. Old paint often hides grit, nails, or hardened layers that quickly dull or chip the edge. If you must plane painted wood, scrape off as much finish as possible first and check for hidden fasteners. Expect to sharpen more often, and keep a backup blade handy.
Why Is My Surface Coming Out Rough?
A rough surface almost always points to a dull blade or planing against the grain. Sharpen the edge until it slices paper cleanly, then check which way the grain flows. Try planing the opposite direction if the wood keeps tearing out. Lighter passes with a keen blade fix most rough-surface problems fast.
How Often Should I Sharpen the Blade?
Sharpen whenever the plane starts tearing wood or feels harder to push than usual. For regular hobby use, a quick hone every few sessions keeps the edge crisp. Heavy work on hardwoods dulls the blade faster, so check it often. A minute of sharpening saves you a lot of struggle down the line.
Conclusion
Fixing a sticking door or smoothing a rough board doesn’t have to be a chore. Now that you know how to use a plane tool, you can flatten, shape, and polish wood with clean, controlled strokes. The real secret is simple: keep the blade sharp, take light passes, and always read the grain.
If you haven’t picked one up yet, check out our recommended picks above to find the right size for your projects. Ready for your next build? Explore our other woodworking guides to keep your skills sharp and your projects looking their best.
