
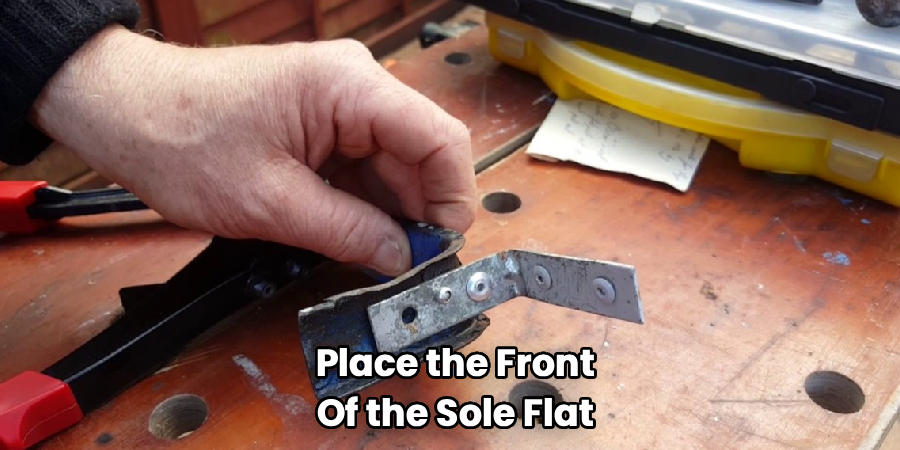
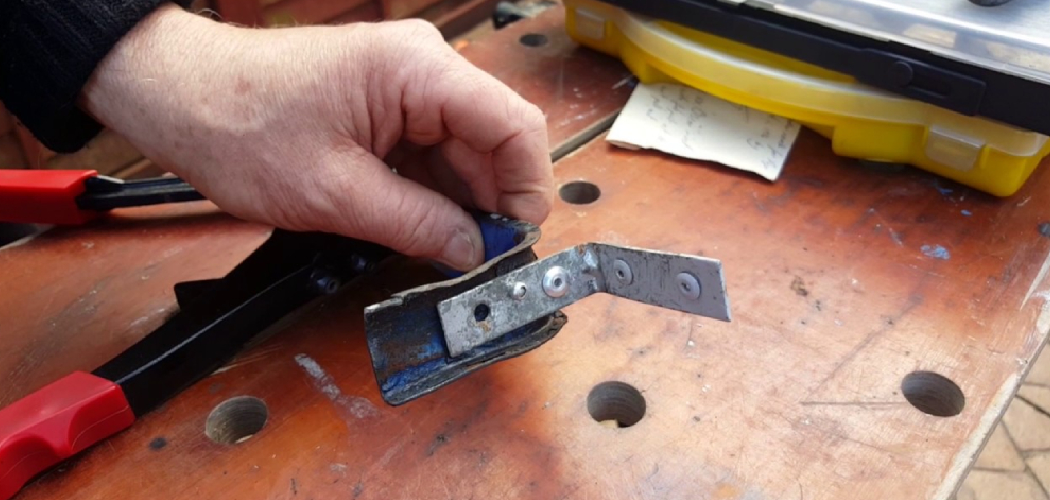
You’ve got two pieces of sheet metal that need joining, but there’s no way to reach the back side with a wrench or a bolt. Maybe it’s a rattling gutter, a loose panel on your trailer, or a metal bracket that keeps working itself free. This is exactly the moment a pop rivet tool saves the day. It creates a strong, permanent fastener from just one side of the material, no backside access required.
In this guide, you’ll learn How to Use a Pop Rivet Tool, how to work through each step without stripping a rivet, and the mistakes that trip up beginners. We’ll also cover expert tips and answer the questions people ask most. By the end, you’ll join metal, plastic, and more with clean, tight results every time.
What Is a Pop Rivet Tool?
A pop rivet tool, sometimes called a rivet gun, is a hand tool that sets blind rivets to fasten two materials together. You insert a rivet’s mandrel into the tool, squeeze the handles, and the tool pulls the mandrel until the rivet body deforms and locks tight. It works from one side only, which makes it perfect for spots where you can’t reach the back. Blind rivets are common in sheet metal work, automotive repair, HVAC ducting, and light fabrication.
What You’ll Need
Before you set a single rivet, gather your supplies. Having everything within arm’s reach keeps your workflow smooth and stops you from hunting for parts mid-project.
- A hand riveter (a standard lever-style model is great for beginners)
- Blind rivets in the right diameter and length for your job
- A power drill with a matching drill bit for the pilot hole
- A measuring tape or ruler to mark hole placement
- A center punch to start clean, accurate holes
- Safety glasses and work gloves
- A deburring tool or file to clean up drilled holes
- Clamps to hold your workpieces together
- A small container to catch spent mandrels
- Scrap material for practice sets (optional but smart)
Match your rivet size to your tool. Most riveters include several interchangeable nosepieces for different rivet diameters, so check that yours fits.
Step-by-Step Guide on How to Use a Pop Rivet Tool
Ready to start joining things? Follow these steps in order. Take your first few rivets slow, and once you feel the handle “pop” that mandrel free, the rhythm becomes second nature.
Step 1: Choose the Right Rivet and Size
Start by picking the correct rivet for your materials. Blind rivets come in different diameters and grip ranges, and the grip range must match the combined thickness of your workpieces. Too short a rivet won’t clamp tightly, while too long a one leaves a sloppy, weak joint. Aluminum rivets suit light jobs, while steel offers extra holding power for heavy-duty work.
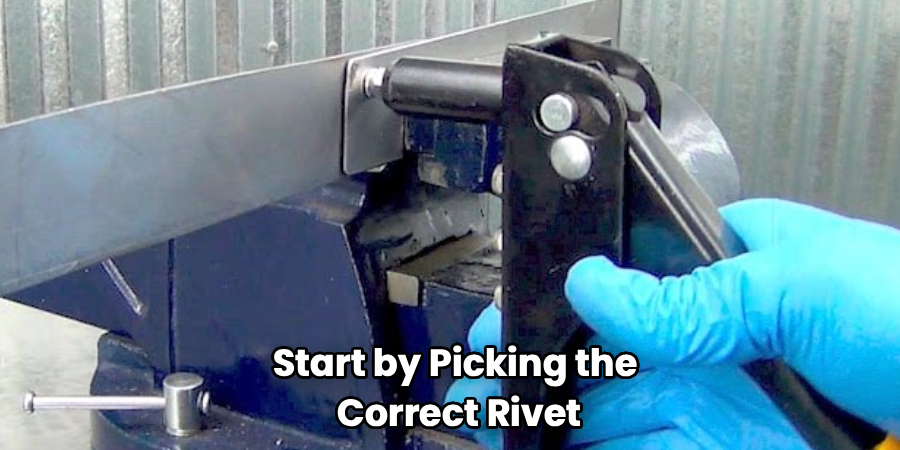
A common mistake is grabbing whatever rivets are handy without checking the grip range. Measure your material stack first, then match the rivet. This one habit prevents most weak or loose joints.
Step 2: Mark and Center-Punch Your Holes
Measure and mark where each rivet should go. Even spacing looks cleaner and spreads the load across the joint. Press a center punch into each mark and tap it lightly with a hammer to create a small dimple. This dimple keeps your drill bit from wandering when you start the hole.
Skipping the center punch is a rookie error that leads to crooked, off-center holes. Take the extra ten seconds. Your drilled holes will line up perfectly, and your rivets will sit flush and tidy.
Step 3: Drill Clean Pilot Holes
Clamp your materials together so they can’t shift, then drill your pilot hole through both layers at once. Drilling both pieces together guarantees the holes line up exactly. Choose a drill bit that matches your rivet diameter closely, since a hole that’s too big lets the rivet spin. Run the drill at a steady speed and let the bit do the work.
After drilling, run a deburring tool or file over each hole to remove sharp metal shavings. Burrs stop materials from sitting flush and can weaken the joint. Clean holes make for tight, professional-looking results.
Step 4: Load the Rivet Into the Pop Rivet Tool
Slide the long mandrel (the thin metal stem) of the rivet into the nosepiece of your tool. Push it in until the rivet body seats snugly against the tip. Give it a gentle tug to confirm it’s held firmly and won’t drop out. Double-check that your nosepiece matches the rivet diameter, since a mismatch causes misfires.
If the rivet keeps slipping out, your nosepiece is probably too large. Swap it for the correct size. A properly seated rivet stays put even when you turn the tool sideways.
Step 5: Insert the Rivet and Position the Tool
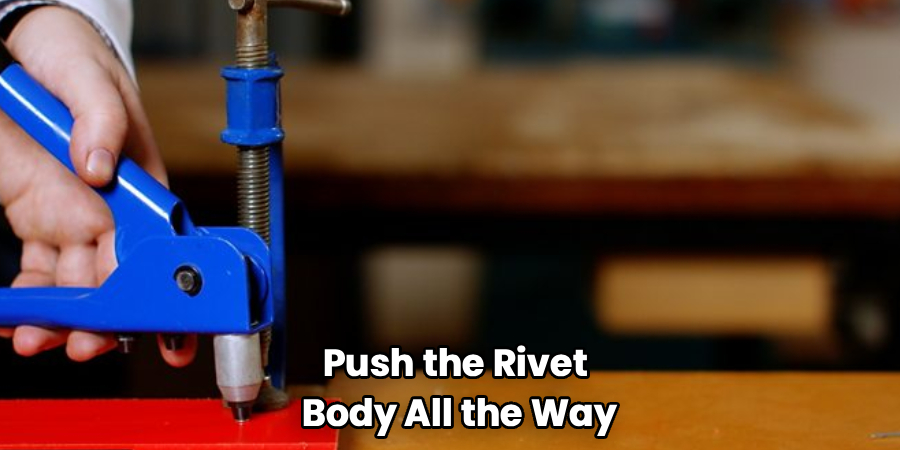
Push the rivet body all the way into the drilled hole until the rivet head sits flat against the surface. Hold the tool square to the material, not at an angle. Keeping it perpendicular ensures the rivet sets evenly and grips both layers. Press the workpieces together firmly so there’s no gap between them.
A slanted tool creates a lopsided, weak set. Line it up straight before you squeeze. If you’re working on a vertical surface, brace your free hand for stability.
Step 6: Squeeze the Handles to Set the Rivet
Grip the handles and squeeze firmly and steadily. As you compress them, the tool pulls the mandrel, which flares the back of the rivet body and clamps your materials tight. On most jobs you’ll need two or three full squeezes before the mandrel snaps off with a satisfying pop. Keep the tool square through every squeeze.
Don’t rush this part. Release fully between squeezes so the jaws can reset and grip the mandrel again. That clean snap tells you the rivet is fully set and locked.
Step 7: Clear the Spent Mandrel
Once the mandrel snaps, it stays inside the tool or drops out the front. Point the nose down and squeeze the handle again, or press the release, to eject the leftover stem. Collect these spent mandrels in a container so they don’t roll underfoot or scratch your work. A stray mandrel on the floor is a surprising slip hazard.
Some tools have a rear collection canister that catches mandrels automatically. If yours does, empty it now and then. A jammed mandrel can stop the next rivet from loading correctly.
Step 8: Inspect and Repeat
Check your finished rivet. The head should sit flush and tight, with no wobble or gap between the joined pieces. Try wiggling the materials to confirm a solid, secure hold. If a rivet feels loose, drill it out and set a fresh one, choosing a slightly longer grip if needed.
Move on to your next marked hole and repeat the process. Working through the holes in a consistent order keeps your spacing even. Before long, you’ll set each fastener quickly and cleanly.
Tips for Best Results
Want to rivet like a pro? These insider tricks go beyond the basics and save you real frustration.
- Match rivet material to the base metal. Pairing aluminum rivets with aluminum panels avoids galvanic corrosion, which happens when two different metals react and rust over time. For outdoor or wet jobs, this small choice adds years of life.
- Use washers on soft or thin materials. Slip a backup washer over the rivet body before setting it into plastic, fiberglass, or thin sheet metal. The washer spreads the clamping force so the rivet head won’t pull through.
- Keep spare nosepieces handy. Store all your interchangeable tips in one spot so you can switch rivet sizes fast. Losing that tiny nosepiece mid-project is a classic headache.
- Test on scrap first. Set a rivet or two in leftover material to confirm the grip and size before touching your real project. This quick check catches wrong-size rivets before they cause problems.
- Squeeze in a smooth motion. Jerky, uneven pressure can bend the mandrel or set the rivet crooked. Slow, steady squeezes give you the cleanest, tightest results.
Frequently Asked Questions
What Materials Can I Join With Blind Rivets?
Blind rivets fasten sheet metal, aluminum, plastic, leather, and fiberglass with ease. They shine anywhere you can only reach one side of the material, like ductwork, gutters, or car panels. Just match the rivet material and grip range to your project for a strong hold. With the right rivet, you can join dissimilar materials in the same joint too.
How Do I Remove a Pop Rivet Once It’s Set?
Removing a rivet is simple with a power drill. Pick a drill bit the same size as the rivet body and drill straight into the center of the rivet head. The head pops off, and you can push the remaining body out with a punch. Go slow and keep the bit centered so you don’t enlarge the hole.
Why Won’t My Rivet Set Properly?
Most setting problems come from a size mismatch or an angled tool. Confirm the rivet grip range matches your material thickness and that the nosepiece fits the rivet diameter. Hold the tool perpendicular and squeeze firmly until the mandrel snaps. If the mandrel spins without breaking, your rivet is likely too large for the hole.
Is It Safe to Use a Riveter on Thin Sheet Metal?
Yes, riveting is one of the best ways to join thin sheet metal. The trick is choosing a rivet with the right diameter and adding a backup washer if the metal is very thin. This spreads the load so the rivet head won’t tear through. Always deburr your holes first so the pieces sit flush and tight.
How Many Rivets Do I Need for a Strong Joint?
Space rivets evenly along the seam, usually every one to two inches for light work. More rivets spread the load and create a stronger, more rigid joint. For structural or high-stress jobs, place them closer together and use steel rivets. When in doubt, add one or two extra rather than leaving gaps.
Conclusion
Joining metal from just one side no longer has to stump you. Now that you know how to use a pop rivet tool, you can fasten panels, patch gutters, and tackle repairs with clean, secure results. The real secret is simple: match your rivet to the material, drill clean holes, and keep the tool square as you squeeze.
If you haven’t picked one up yet, check out our recommended picks above to find the right riveter for your projects. Ready for your next repair? Explore our other tool guides to keep building your skills and finishing jobs like a pro.
