
Picture this: you just fixed a leaky pipe under the sink, but you connected the fitting to the wrong spot. Now that push-to-connect fitting won’t budge, and yanking on it only makes your knuckles sore. Sound familiar? This is exactly where a sharkbite removal tool saves the day. It pops those stubborn fittings loose in seconds, without cutting your pipe or calling a plumber.
In this guide, you’ll learn How to Use a SharkBite Removal Tool, what you’ll need before starting, and the exact steps to remove any SharkBite fitting cleanly. We’ll cover copper, PEX, and CPVC pipe, plus tips the pros use. By the end, you’ll disconnect fittings like it’s second nature.
What Is a SharkBite Removal Tool?
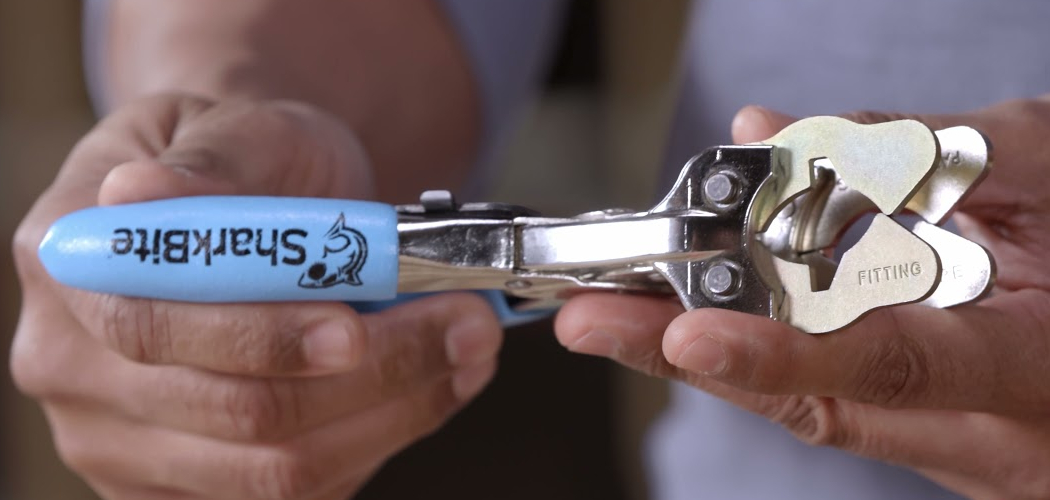
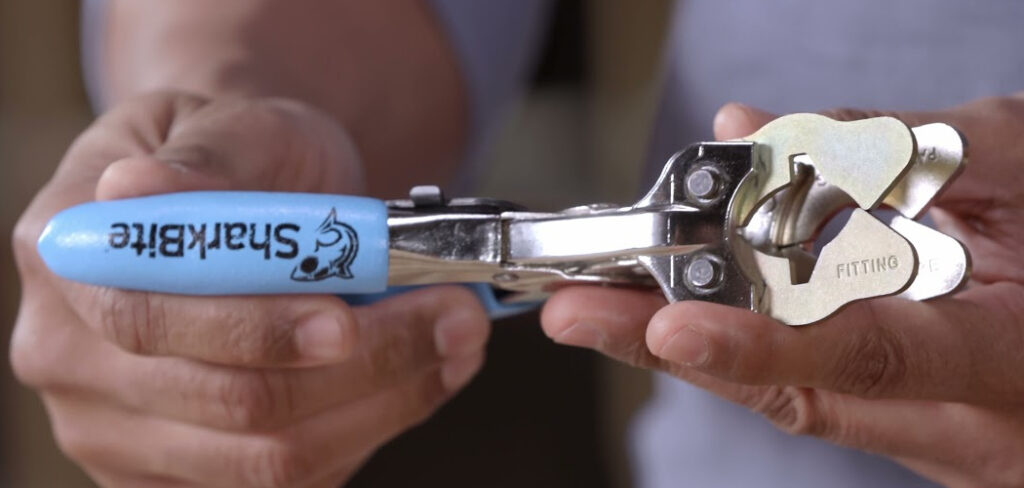
A SharkBite removal tool is a small, simple device that releases push-to-connect fittings from a pipe. Inside every SharkBite fitting sits a ring of tiny teeth that grip the pipe tight. The removal tool pushes against a release collar, which relaxes those teeth so the fitting slides right off. It’s often shaped like a horseshoe clip, a tong-style tool, or a disconnect clip that clamps around the pipe.
What You’ll Need
Grab these before you start. Most are cheap and easy to find at any hardware store.
- A SharkBite removal tool (clip, tongs, or disconnect key style)
- A towel or small bucket to catch water
- Adjustable pliers (for a better grip if needed)
- A rag for wiping the pipe clean
- Safety glasses
- A flashlight for tight, dark spaces
- Replacement fitting or cap (if you plan to reconnect)
Step-by-Step Guide on How to Use a SharkBite Removal Tool
Follow these steps in order. Take your time on the first fitting, and the rest will feel easy.
Step 1: Shut Off the Water Supply
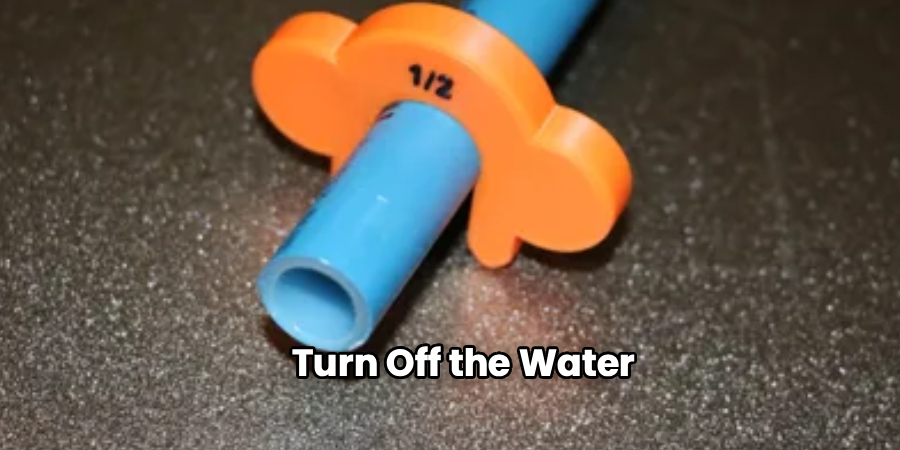
Before touching any fitting, turn off the water. Find the shutoff valve nearest to your repair area, or use the main valve for the whole house. This stops water from spraying out the moment the fitting releases. Open a nearby faucet to drain the leftover pressure in the line.
Skipping this step is the most common mistake beginners make. A pressurized pipe under the sink can soak your whole cabinet in seconds. Give the line a minute to fully drain before moving on.
Step 2: Set Up Your Work Area
Clear out anything under or around the pipe. Lay down a towel to catch drips, and place a small bucket below the fitting. A tidy space makes the job faster and keeps you from fumbling in the dark.
If you’re working in a cramped cabinet or crawlspace, prop up your flashlight so both hands stay free. Good lighting helps you spot the release collar clearly. Put on your safety glasses now, since old pipes can flick out debris.
Step 3: Identify the Release Collar
Look closely at the fitting where it meets the pipe. You’ll see a small collar or ring right at the base. That collar is the spot you need to press. On copper pipe, PEX, or CPVC, it works the same way.
Wipe the pipe clean with your rag so you can see clearly. Dirt and mineral buildup can hide the collar. Knowing exactly where to push saves you time and frustration in the next step.
Step 4: Position the SharkBite Removal Tool
Slide the tool around the pipe so it sits flush against the release collar. If you’re using the horseshoe clip style, hook it around the pipe first, then slide it toward the fitting. Tong-style tools clamp on directly and squeeze the collar for you.
Make sure the tool sits square, not crooked. A tilted tool won’t press the collar evenly, and the fitting won’t let go. Double-check that it hugs the pipe snugly before applying any force.
Step 5: Press the Collar Firmly
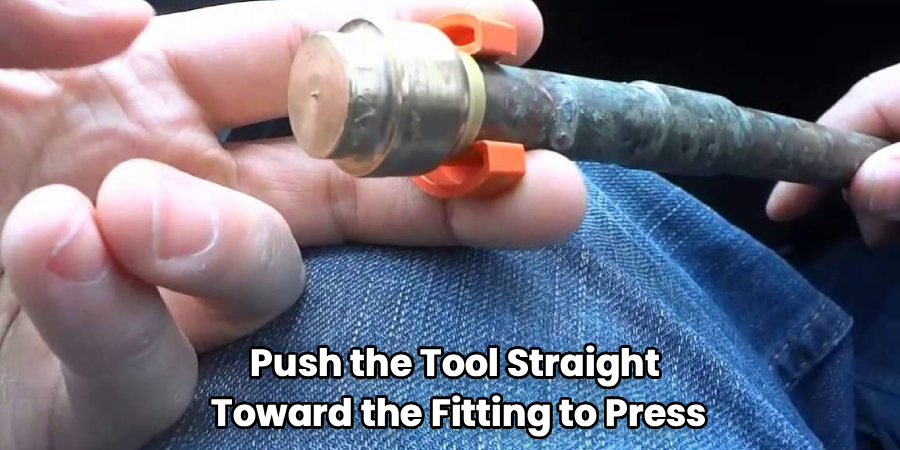
Push the tool straight toward the fitting to press the collar inward. Keep steady, even pressure. You’re relaxing those internal teeth so they release their grip on the pipe. This part takes a firm push, but not brute strength.
If the tool slips, reset it and try again with your other hand steadying the pipe. Pushing at an angle is a classic error that makes people think their fitting is stuck. Stay square and press with purpose.
Step 6: Pull the Fitting Off the Pipe
While you hold the collar pressed in, gently pull the fitting away from the pipe with your free hand. It should slide off smoothly. Don’t twist hard or wrench it side to side, since that can bend the pipe. Steady, straight pressure is all you need.
If it resists, you likely lost pressure on the collar. Re-seat the sharkbite removal tool and try again. For a stubborn copper pipe joint, a light wiggle while pulling can help it break free.
Step 7: Inspect the Pipe End
Once the fitting slides off, take a good look at the pipe. Check for scratches, dents, or rough spots left behind by the teeth. A damaged pipe end won’t seal well if you reconnect a new fitting. Wipe away any grit or old sealant.
For copper pipe, smooth any burrs with fine sandpaper or an emery cloth. PEX and CPVC usually clean up with just a wipe. A clean, smooth pipe end is the secret to a leak-free reconnection.
Step 8: Reconnect or Cap the Line
Now you can attach a new push-to-connect fitting, cap the pipe, or move the fitting to the correct spot. Push the fitting on until it seats fully against the pipe stop inside. You’ll feel it click into place. Give it a gentle tug to confirm it’s locked.
Mark your pipe with the correct insertion depth first if you’re unsure. Under-seating a fitting is a top cause of hidden leaks. Take that extra second to seat it all the way.
Step 9: Turn the Water Back On and Test
Slowly reopen the shutoff valve. Watch the fitting closely as water flows back into the line. Look and feel for any drips around the connection. Let it run for a minute while you check.
If you spot a leak, shut the water off again and re-seat the fitting. A small drip usually means the pipe wasn’t pushed in far enough. Once it holds dry, you’re done and can pack up your tools.
Tips for Best Results
These small tricks separate a smooth job from a frustrating one.
- Keep a spare tool in each size. SharkBite tools come sized for 1/2-inch, 3/4-inch, and 1-inch pipe. Grab the matching size for a clean release every time.
- Warm cold pipes slightly. In winter, PEX and CPVC get stiff. A minute with a warm rag makes the fitting slide off far easier.
- Mark your insertion depth. Before reconnecting, use the depth chart on the SharkBite package to mark the pipe. This guarantees a full, leak-free seal.
- Reuse fittings the smart way. SharkBite fittings can be reused. Just inspect the O-ring inside for cracks before you put one back into service.
- Don’t force a bent pipe. If the pipe end is dented, cut it clean and start fresh. A damaged end will never seal properly.
Frequently Asked Questions
Can I Reuse a SharkBite Fitting After Removing It?
Yes, you can reuse most SharkBite fittings. After removal, check the rubber O-ring inside for any cracks, tears, or debris. If the ring looks clean and intact, the fitting is good to go again. Wipe it down and reseat it fully for a solid seal.
Do I Really Need a Special Tool to Remove SharkBite Fittings?
Technically you can use a horseshoe-style disconnect clip, but a proper sharkbite removal tool makes the job far easier. The dedicated tool presses the release collar evenly, which frees the fitting without slipping. Trying to release it with just your fingers rarely works, especially on tight joints. For a few dollars, the right tool saves a lot of frustration.
Is It Safe to Remove a SharkBite Fitting While Water Is On?
No, always shut off the water first. Removing a fitting under pressure sends water spraying everywhere and can damage your pipe or nearby items. Turn off the nearest valve, then open a faucet to drain the line. Only start once the pressure is fully gone.
How Do I Remove a SharkBite Fitting From Copper Pipe?
The process is the same for copper, PEX, and CPVC. Position the removal tool against the release collar, press it in firmly, and pull the fitting straight off. Copper pipe can hold a bit tighter, so a gentle wiggle while pulling helps. Just avoid bending or crimping the pipe as you work.
What If the Fitting Still Won’t Come Off?
Reset the tool and make sure it sits square against the collar. Most stuck fittings come from pressing at an angle or not pushing the collar in far enough. Clean any grime off the pipe so the tool seats properly. If it still resists, apply steady pressure while pulling, and it should release.
Does Removing a Fitting Damage the Pipe?
Done correctly, removal leaves the pipe intact. The internal teeth may leave light surface marks, but these rarely affect the seal. Smooth any burrs on copper pipe before reconnecting. As long as the pipe end stays round and clean, your next fitting will seal just fine.
Conclusion
Removing SharkBite fittings doesn’t take a plumber’s skill, just the right approach. Shut off the water, seat the tool square, press the collar, and pull the fitting straight off. With a little practice, you’ll handle any plumbing repair on copper, PEX, or CPVC pipe with confidence.
If you haven’t picked up a sharkbite removal tool yet, check out our recommended picks above and grab the size that fits your pipes. Ready for your next project? Browse our other DIY plumbing guides and keep building your skills.
