
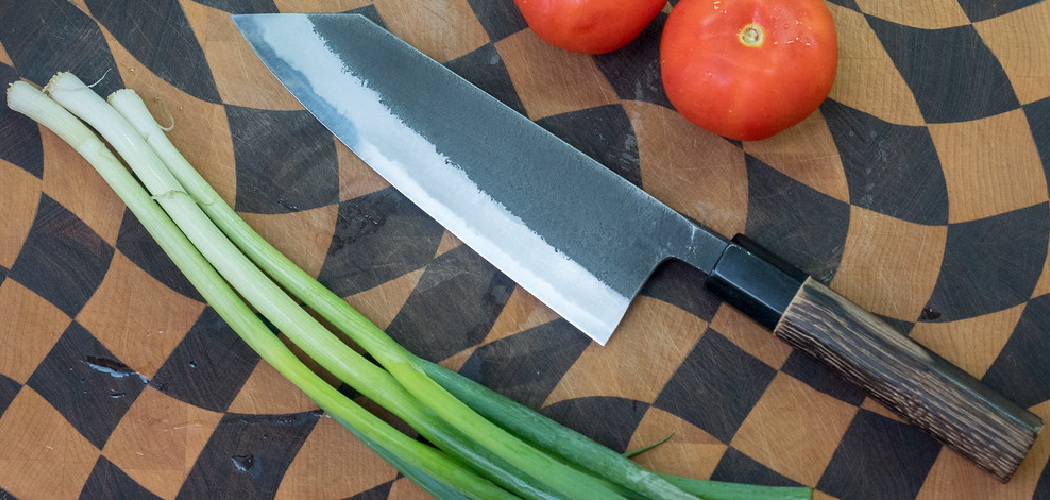
You just bought a beautiful new blade, and now it’s sitting on your counter while you stare at a pile of onions, carrots, and chicken. Where do you even start? A santoku knife is one of the most versatile tools in any kitchen, and once you learn a few basic moves, it’ll quickly become the blade you reach for every single day. The name means “three virtues” in Japanese, hinting at its skill with meat, fish, and vegetables.
In this guide, you’ll learn exactly how to use a santoku knife, cut with it, and keep it in top shape. I’ll walk you through each step, share a few chef-level tips, and answer the questions people ask most. By the end, you’ll slice, dice, and chop with real confidence.
What You’ll Need
Before you start chopping, gather a few basics. Having everything ready makes the whole process smoother and safer.
- A santoku knife (usually 5 to 7 inches long)
- A stable cutting board (wood or plastic, never glass)
- A damp kitchen towel or non-slip mat
- The food you plan to prep
- A honing rod for edge maintenance
- A clean, dry dish towel for wiping the blade
- A small bowl for scraps or peels
Step-by-Step Guide on How to Use a Santoku Knife
Take these steps one at a time. Focus on your grip and your board setup first, and the cutting part becomes almost automatic.
Step 1: Set Up a Safe, Stable Workspace
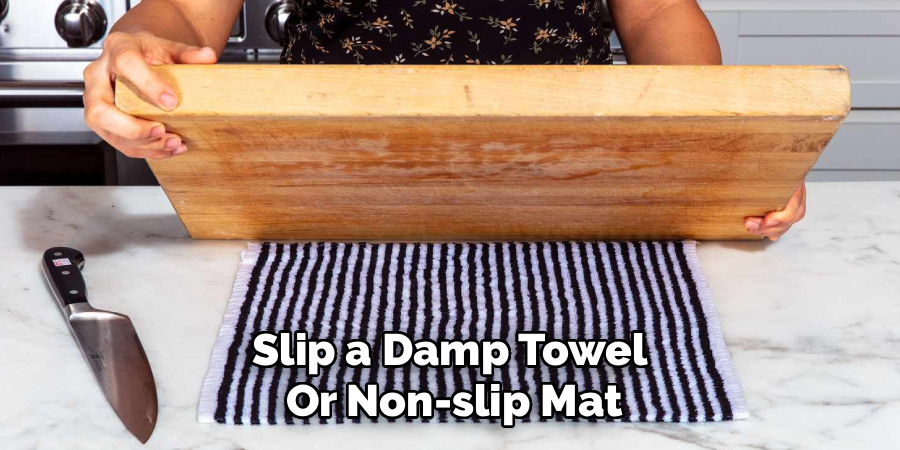
Start by placing your cutting board on a flat, clean surface. Slip a damp towel or non-slip mat underneath so the board won’t slide around while you work. A wobbling board is the top cause of kitchen accidents, so this small step matters a lot. Give yourself enough clear space to move your arm freely. A tidy, secure setup keeps your cuts clean and your fingers safe.
Step 2: Grip the Handle the Right Way
How you hold the blade changes everything. Pinch the base of the blade between your thumb and index finger, then wrap your other three fingers around the handle. This “pinch grip” gives you far more control than gripping the handle alone. It might feel odd at first, but stick with it for a few sessions. Soon it’ll feel natural, and your cuts will turn out noticeably straighter and cleaner.
Step 3: Master the Claw With Your Guide Hand
Your other hand steers the food and protects your fingertips. Curl your fingers inward like a claw, tucking your fingertips back and resting the flat of your knuckles against the blade. The side of the blade glides along your knuckles as a guide. This keeps your fingers well clear of the sharp edge. Move slowly until the motion feels comfortable, then let your speed build over time.
Step 4: Learn the Push-Cut Motion
Unlike a Western chef’s knife, this blade favors a straight up-and-down or gentle push-cut rather than a big rocking motion. Position the edge over your food, then press down and slightly forward in one smooth stroke. Let the sharp edge do the work instead of forcing it. The thin, flat profile slices cleanly through vegetables and boneless meat. Practice this steady rhythm on something soft, like a zucchini, before moving to tougher foods.
Step 5: Practice Basic Slicing and Dicing
Start with an onion or a carrot to build your rhythm. Make even, parallel cuts, keeping your guide hand’s claw moving back in small, steady steps. For a dice, cut planks first, stack them, slice into strips, then cut across to form cubes. Keep your cuts uniform so everything cooks at the same rate. Consistency comes with repetition, so don’t rush the early attempts.
Step 6: Use the Dimples to Your Advantage
Many blades feature small hollowed dimples along the side, called a Granton edge. These create tiny air pockets that stop thin slices from sticking to the steel. This handy feature shines when you slice potatoes, cucumbers, or cheese. You don’t need to do anything special, just let the blade glide and watch the food release cleanly. It’s one of the small details that makes this tool so satisfying to use.
Step 7: Clean the Blade Properly
Once you finish, wash the blade by hand with warm water and mild soap. Never toss it in the dishwasher, since the heat and jostling dull the edge and can warp the handle. Wipe it dry right away with a clean towel to prevent water spots or rust. Hold the spine, not the edge, while you clean to keep your fingers safe. A well-cared-for blade rewards you with years of reliable service.
Step 8: Hone the Edge Regularly
Honing keeps your edge straight and sharp between actual sharpenings. Hold your honing rod upright, then draw the blade down and across it at roughly a 15-degree angle. Do a few passes on each side, alternating as you go. A quick hone before each session keeps every cut smooth and effortless. Remember, honing straightens the edge while sharpening removes metal, so you’ll only need to sharpen every few months.

Tips for Best Results
These extra pointers come from real hands-on experience and help you skip the mistakes beginners often make.
- Keep it razor sharp. A dull blade is more dangerous than a sharp one because it slips instead of biting. Hone before each use and sharpen every couple of months. A keen edge means safer, cleaner, and faster prep.
- Choose the right cutting board. Stick to wood or soft plastic, and never cut on glass, stone, or metal. Hard surfaces chip and dull the delicate edge fast. Your board choice directly protects your investment.
- Match the blade to the task. This tool excels at vegetables, boneless meat, and fish, but it’s not built for bones or frozen food. Forcing it through hard material can crack or roll the edge. Reach for a cleaver or bone saw when you need one.
- Cut with a smooth, confident stroke. Short, choppy jabs create ragged cuts and tire your hand. Let the length of the blade and its own weight carry the motion. Confidence and rhythm beat brute force every time.
- Store it safely. Keep it in a blade guard, on a magnetic strip, or in a knife block. Tossing it loose in a drawer dulls the edge and risks nicking your fingers. Proper storage protects both you and the blade.
Frequently Asked Questions
What Is a Santoku Knife Best Used For?
It shines at everyday prep like slicing vegetables, dicing onions, and cutting boneless chicken or fish. The thin, flat edge makes clean, precise cuts with very little effort. It’s not ideal for cutting through bones, frozen food, or hard squash rinds, though. For those jobs, reach for a heavier cleaver or a specialized blade.
How Is It Different From a Chef’s Knife?
The biggest difference is the shape and cutting motion. A chef’s knife has a curved belly built for rocking back and forth, while this blade is flatter and favors a straight push-cut. This one is usually a bit shorter and lighter, which many people find easier to control. Both are versatile, so it often comes down to personal preference.
Is It Safe to Use for Beginners?
Yes, and many beginners actually find it more comfortable than larger knives. Its lighter weight and shorter length give you better control while you learn. Just focus on the pinch grip and the claw hand from day one to keep your fingers protected. Go slow at first, and your speed will build naturally with practice.
How Often Should I Sharpen the Blade?
Hone it with a rod before nearly every use to keep the edge aligned. For actual sharpening, which removes a bit of metal, every two to three months works well for home cooks. If you notice the blade tearing food instead of slicing cleanly, that’s your cue to sharpen sooner. A quick paper test tells you fast: a sharp edge slices clean, a dull one snags.
Can I Put It in the Dishwasher?
Please don’t. The high heat, harsh detergent, and knocking around all dull the edge and can damage the handle over time. Hand wash it with warm soapy water instead, then dry it right away. This one-minute habit keeps your blade sharp and rust-free for years.
Conclusion
Learning to handle a santoku knife takes just a little practice, but the payoff lasts for years. Focus on a solid grip, that protective claw hand, and a smooth push-cut, and you’ll be prepping meals faster and safer in no time. Remember to hone often, wash by hand, and store it safely.
If you haven’t picked one up yet, check out our recommended picks above to find the perfect blade for your kitchen. Ready to sharpen your skills further? Browse our other kitchen guides on the site for more hands-on tips and tasty results.
