
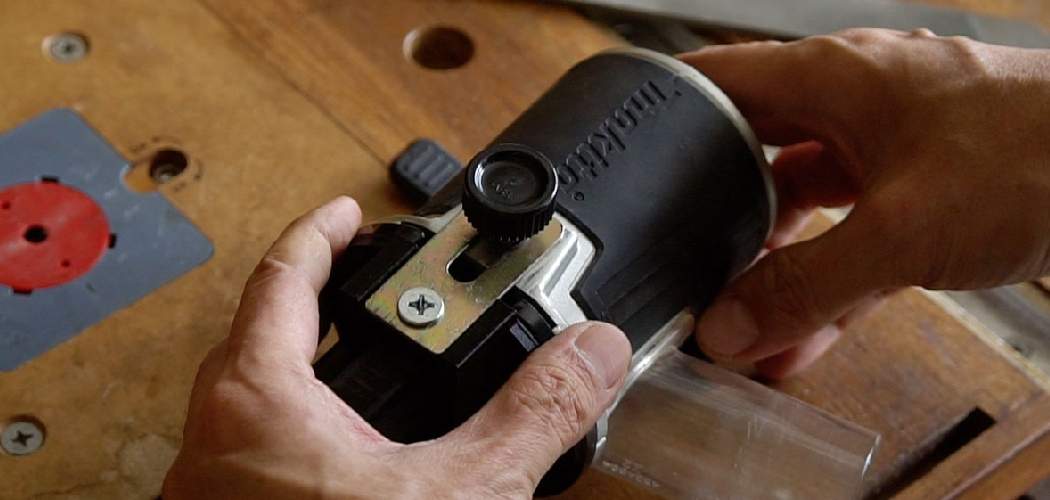
You just finished building a bookshelf, but the edges look sharp and unfinished. Or maybe you’ve got a laminate countertop that needs a clean, professional trim. That’s exactly where a trim router shines. Learning how to use a trim router opens up a whole new world of clean edges, decorative profiles, and precise cuts you can pull off right in your garage.
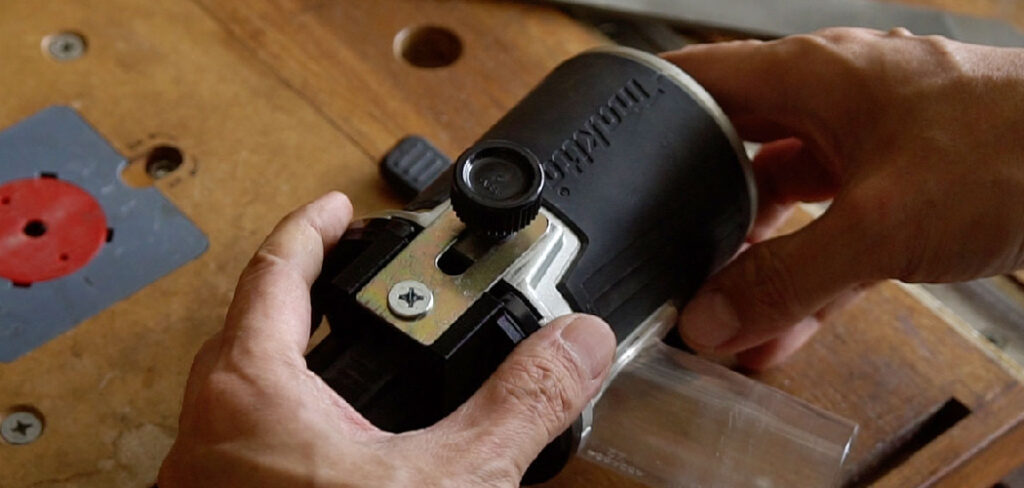
In this guide, I’ll walk you through everything from setup to your first pass. You’ll learn how to install a router bit, adjust the depth, and glide the tool smoothly for crisp results. We’ll cover the gear you need, the exact steps to follow, and a few insider tricks that make a big difference. By the end, you’ll feel confident enough to tackle real projects. Let’s get your hands on this handy little tool.
What Is a Trim Router?
A trim router is a compact, one-handed power tool used to shape and finish the edges of wood, laminate, and other materials. It spins a router bit at high speed to carve profiles, round over corners, or trim excess material flush. Smaller and lighter than a full-size router, it’s perfect for detail work and tight spaces. Woodworkers love it for edge routing, laminate trimming, and adding decorative touches without the bulk of a heavy machine.
What You’ll Need
Before you fire up the tool, gather your supplies. Having everything within reach keeps your workflow smooth and safe.
- A trim router (corded or cordless)
- Router bits (a straight bit, roundover bit, and flush trim bit to start)
- A wrench or collet spanner (usually included with the tool)
- Safety glasses and hearing protection
- A dust mask or respirator
- Clamps to secure your workpiece
- Scrap wood for practice passes
- A workbench or stable work surface
- A pencil and tape measure for marking
- A shop vacuum or dust collection attachment (optional but helpful)
- Push blocks or a stable grip for control
Step-by-Step Guide on How to Use a Trim Router
Ready to make some sawdust? Follow these steps in order. Take your time with the setup, and the routing itself becomes easy.
Step 1: Choose and Inspect the Right Router Bit
Start by picking the bit that matches your task. A roundover bit softens sharp edges, a flush trim bit levels overhanging material, and a straight bit cuts grooves. Check the bit for any dull edges, chips, or built-up gunk before you install it. A clean, sharp bit gives you smoother cuts and puts less strain on the motor.
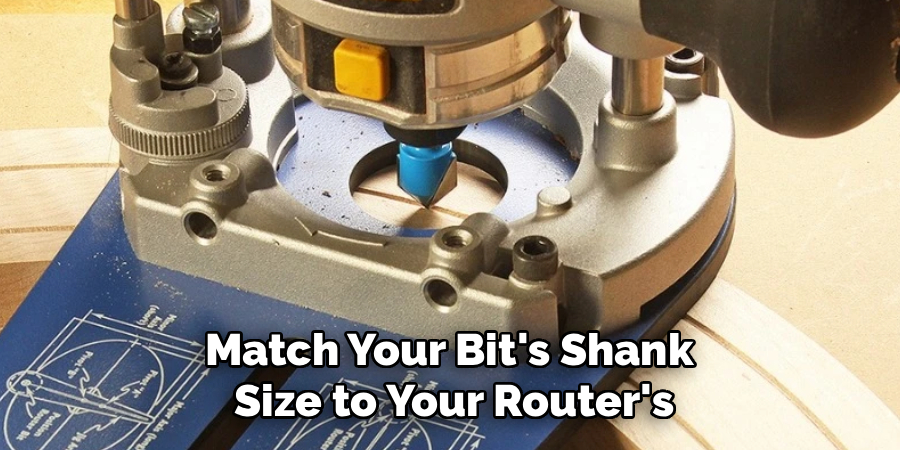
Match your bit’s shank size to your router’s collet, usually 1/4 inch. Never force a bit that doesn’t fit. Using the wrong size is a common beginner mistake that can damage both the bit and the tool.
Step 2: Install the Bit Securely
Unplug the router or remove the battery before you touch the collet. Insert the bit shank fully, then pull it back out about 1/16 inch so it isn’t bottomed out. This little gap prevents vibration and helps the bit seat properly. Tighten the collet firmly with your wrench until the bit won’t budge.
Give the bit a gentle wiggle to confirm it’s locked in. A loose bit can slip mid-cut, which ruins your work and creates a safety hazard. Snug, but don’t overtighten to the point of stripping the threads.
Step 3: Set the Depth Adjustment
Depth adjustment controls how deep the bit cuts into your material. Loosen the base clamp, then slide the router body up or down to set your cutting depth. For most edge routing, start shallow and work deeper in passes rather than cutting the full profile at once. This keeps the cut clean and prevents burning or tear-out.
Lock the base firmly once you’ve dialed in the setting. Double-check the measurement against your workpiece before you power up. Rushing this step is the top reason beginners end up with uneven or gouged edges.
Step 4: Secure Your Workpiece
A wobbling board is dangerous and produces sloppy results. Clamp your workpiece firmly to the workbench so it can’t shift while you route. Make sure the edge you’re cutting hangs free and clear of the bench surface. You don’t want to accidentally route into your table.
Position the clamps out of the router’s path so they don’t block your movement. If you’re working on a small piece, use a router mat or non-slip pad for extra grip. A stable setup is the foundation of every clean cut.
Step 5: Do a Test Pass on Scrap Wood
Never make your first cut on the real project. Grab a piece of scrap wood the same thickness as your workpiece and run a practice pass. This lets you confirm the depth is right and get a feel for the tool’s pull. You’ll notice the router wants to move in a certain direction as the bit spins.
Adjust your depth or bit choice if the test doesn’t look right. This quick habit saves expensive materials and boosts your confidence. Even seasoned woodworkers test before committing to the final piece.
Step 6: Route in the Correct Direction
Direction matters more than almost anything else. For edge work on the outside of a board, move the router left to right, against the bit’s rotation. This is called cutting “with the grain of resistance,” and it gives you control instead of the tool running away from you. Feeding the wrong way causes the router to skate and gouge.
Hold the tool firmly with both hands or use a solid grip if it’s one-handed. Move at a steady pace, not too fast and not too slow. Lingering in one spot can scorch the wood, while rushing leaves a rough edge.
Step 7: Use the Pilot Bearing for Flush Trimming
Many bits have a pilot bearing at the tip that rides along the edge of your material. This bearing acts as a guide, keeping the cut consistent without a separate fence. For flush trimming laminate or veneer, let the bearing hug the reference surface as you glide along. The result is a perfectly even edge every time.
Keep light, steady pressure so the bearing stays in contact. Don’t press so hard that you dent the guide surface. Letting the bearing do the work is the secret to clean laminate trimming.
Step 8: Make Multiple Shallow Passes
If you’re cutting a deep profile, resist the urge to do it all at once. Instead, make several shallow passes, lowering the bit a little each time. This approach reduces strain on the motor and gives you a cleaner finish. It also lowers the chance of chip-out on delicate hardwoods.
Between passes, blow away or vacuum the sawdust so you can see your line clearly. Take a moment to check your progress after each round. Patience here pays off with professional-looking edges.
Step 9: Finish and Inspect Your Work

Once your final pass is done, turn off the router and let the bit stop spinning completely before you set it down. Never rest a running router on its side. Inspect your edge for any rough spots, burns, or missed sections. A light sanding with fine-grit paper smooths out any tiny imperfections.
If you spot a scorched area, a quick sand usually clears it up. Run your fingers along the edge to feel for consistency. A smooth, even profile means you nailed it.
Tips for Best Results
Want to level up beyond the basics? These insider tips make a real difference.
- Keep both hands steady and your body balanced. Even a lightweight trim router pulls as the bit engages. Plant your feet and move your whole arm, not just your wrist, for smoother control.
- Climb-cut a starter notch on brittle edges. On splintery corners, take a tiny backward pass first to prevent blowout, then finish in the normal direction. It’s a pro trick for chip-free results.
- Clean your bits after every session. Pitch and resin build up fast and dull your cuts. A quick wipe with bit cleaner keeps them sharp and extends their life.
- Add a dust collection attachment. Sawdust clouds your sightline and clogs your lungs. Hooking up a shop vacuum keeps your cut line visible and your workspace healthier.
- Mark your “no-go” zones with painter’s tape. Tape off areas you don’t want to route so a slip doesn’t ruin the whole piece.
Frequently Asked Questions
What Is a Trim Router Best Used For?
A trim router excels at detail and edge work rather than heavy material removal. It’s ideal for rounding over corners, cutting decorative profiles, and flush trimming laminate or veneer. Because it’s compact and one-handed, it handles tight spots a full-size router can’t reach. Many woodworkers keep one on the bench for quick edge routing jobs.
Can I Use a Trim Router for Flush Trimming Laminate?
Yes, flush trimming laminate is one of the most popular uses for a trim router. Fit a flush trim bit with a pilot bearing, and let the bearing ride along the substrate edge. Move steadily and keep light pressure for a clean, even cut. It’s the go-to method for finishing countertops and cabinet faces.
How Deep Should I Set the Router Bit?
Start shallow, especially if you’re new to the tool. For deep profiles, set the depth adjustment for a light first pass, then lower the bit gradually over several passes. This prevents burning, tear-out, and motor strain. A good rule is to remove no more than 1/8 inch of material per pass on hardwoods.
Is It Safe to Use a Trim Router One-Handed?
Trim routers are designed for one-handed use, but safety still comes first. Always secure your workpiece with clamps so both the tool and material stay stable. Keep your free hand well clear of the spinning bit. Wear safety glasses and hearing protection, and never set the router down until the bit stops.
Why Does My Router Leave Burn Marks?
Burn marks usually come from moving too slowly or using a dull bit. When the bit lingers in one spot, friction scorches the wood. Speed up your feed rate slightly and make sure your bit is sharp and clean. A light sanding removes existing burns, and steady movement prevents new ones.
Conclusion
You’ve now got a full roadmap for tackling edge work like a pro. Knowing how to use a trim router, from setting the depth adjustment to guiding the pilot bearing, turns rough edges into clean, polished profiles. Start with scrap wood, take shallow passes, and let the tool do the work.
If you haven’t grabbed a trim router or a set of quality bits yet, check out our recommended picks above to get started. And when you’re ready for your next skill, explore our other woodworking guides for more hands-on inspiration. Happy routing!
