
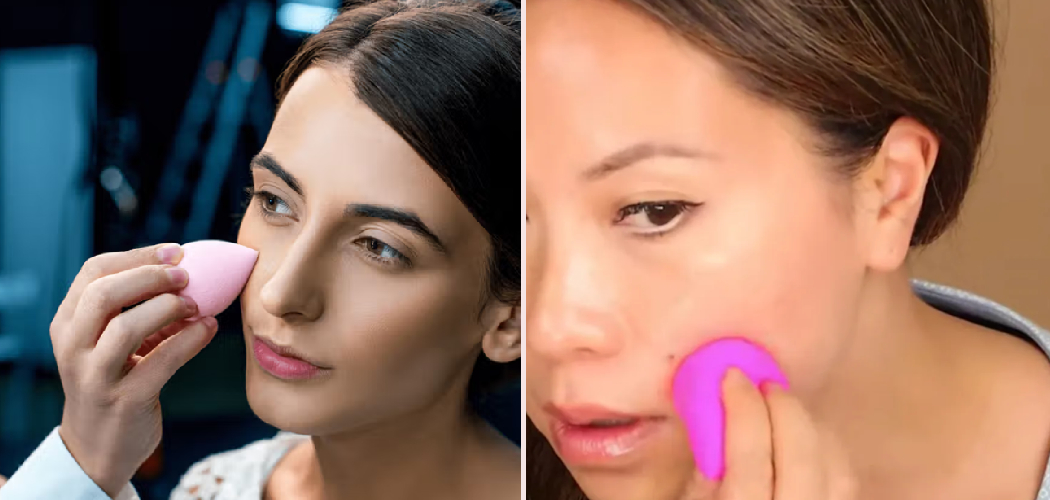
You swipe on your foundation, step into the light, and there it is: streaky patches, cakey edges, and a finish that looks nothing like the flawless glow you were promised. Sound familiar? The secret usually isn’t your product. It’s your tool. A makeup sponge is one of the simplest ways to transform patchy application into a smooth, airbrushed complexion that looks like your skin, only better.
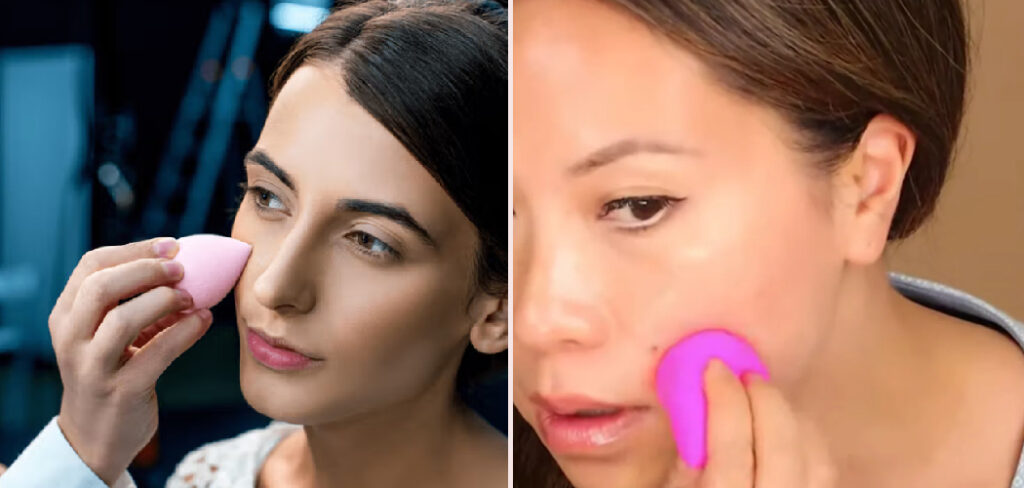
In this guide, you’ll learn exactly How to Use a Makeup Sponge and blend your way to a seamless finish. We’ll cover the supplies you need, walk through each step, and share pro tips that make a real difference. Whether you’re brand new to beauty tools or just want cleaner results, you’ll finish knowing how to get the most from every dab and bounce. Let’s dive in.
What You’ll Need
Before you start blending, gather your essentials. Having everything within reach makes the whole routine faster and smoother.
- A makeup sponge (a teardrop-shaped beauty blender works great for most faces)
- Clean water to dampen the sponge
- Your foundation, BB cream, or tinted moisturizer
- Concealer for spot coverage and under the eyes
- Cream or liquid products like blush, bronzer, or highlighter
- A clean towel to squeeze out excess water
- Setting powder to lock everything in place
- A small dish or your hand as a mixing surface
- Gentle sponge cleanser or mild soap for washing afterward
That’s your full kit. Once it’s ready, you’re set to build a beautiful base.
Step-by-Step Guide on How to Use a Makeup Sponge
Step 1: Start With Clean, Prepped Skin
Great makeup begins with a good canvas. Wash your face, then follow with your usual moisturizer to hydrate and smooth the surface. Let it absorb for a minute or two so your skin isn’t slippery.
Add a primer if you like a longer-lasting base, focusing on your T-zone or any large pores. Prepped skin helps your foundation glide instead of clinging to dry patches. Skip this step and even the best tool will struggle to give you an even complexion.
Step 2: Dampen the Sponge the Right Way
Here’s the golden rule: a damp sponge always beats a dry one. Run your sponge under water until it swells up and roughly doubles in size. This softens the material so it applies product smoothly instead of soaking it all up. Squeeze out the excess water into a towel until the sponge feels moist but not dripping. A properly damp sponge presses foundation into your skin for a natural, dewy look rather than a heavy, cakey one. Never skip this, since a dry sponge drinks up your product and tugs at your face.
Step 3: Apply Foundation to Your Skin First
Resist the urge to load product directly onto the sponge. Instead, dot your foundation across your forehead, cheeks, nose, and chin. This spreads the product evenly and keeps the sponge from absorbing too much at once.

Start with a small amount, since you can always build coverage where you need it. Working in sections also gives you more control over blending. Think of these dots as your roadmap for a smooth, balanced base.
Step 4: Blend With a Bouncing Motion
Now for the magic move. Instead of dragging or wiping, gently bounce the sponge against your skin using quick, light taps. This stippling motion pushes foundation into your pores and creates that airbrushed, seamless finish everyone wants. Use the rounded base of the sponge for large areas like your cheeks and forehead. Keep your touch feather-light, letting the sponge do the work. Wiping instead of bouncing lifts product off and leaves streaks, so stick with the tap.
Step 5: Use the Pointed Tip for Detailed Areas
The narrow end of your makeup sponge is your precision tool. Use it to reach smaller, trickier spots like the sides of your nose, around your lips, and the inner corners of your eyes. Fold the sponge slightly for extra control if needed.
These areas often get missed or over-applied, so a gentle tap here blends everything together. The pointed tip also works beautifully for pressing concealer under your eyes. Small, careful dabs keep detailed zones looking natural instead of caked.
Step 6: Layer Concealer and Build Coverage
Once your base is even, target any spots that need extra attention. Dab concealer onto blemishes, redness, or dark under-eye circles with the tip of the sponge. Bounce gently to melt the concealer into your foundation without wiping it away. Build coverage in thin layers rather than one heavy coat, since thin layers look far more natural. Give each layer a few seconds to settle before adding more. This patient approach hides imperfections while keeping your complexion looking like skin.
Step 7: Blend Cream Products for a Natural Glow
Your sponge isn’t just for foundation. Use it to blend cream blush, bronzer, and highlighter into your skin for a soft, lived-in flush. Apply a small amount of product, then bounce it out along your cheekbones or wherever you want warmth and glow.
The damp sponge diffuses harsh edges so nothing looks patchy or too intense. Layer slowly and check your work in good lighting. This trick gives you a fresh, radiant look that brushes often can’t match.
Step 8: Set Everything in Place
Lock in your hard work so it lasts all day. Lightly dampen a clean area of the sponge, then press setting powder into the spots that tend to crease or get oily, like under your eyes and across your T-zone.
Use a pressing motion rather than sweeping to keep the powder from disturbing your base. This “baking” technique melts everything together for a smooth, long-wearing finish. A light hand here prevents a heavy, powdery look. Now your makeup is ready to face the day.
Step 9: Clean Your Sponge After Every Use
Finishing strong means caring for your tool. After each use, wash your sponge with a gentle cleanser or mild soap under warm water until the water runs clear. Squeeze it repeatedly to push out trapped product deep inside.
A clean sponge prevents breakouts and keeps your future application smooth and hygienic. Let it air-dry in an open spot, never sealed in a bag where bacteria can grow. Replace your sponge every few months, or sooner if it starts to tear or smell.
Tips for Best Results
Want to blend like a pro? These insider pointers take your routine to the next level.
- Always work with a damp sponge. Moisture is the difference between a dewy, seamless finish and a streaky, cakey mess. Squeeze out the excess so it’s damp, not soaking.
- Bounce, never drag. The stippling motion is what creates that airbrushed look. Dragging wipes product away and leaves visible lines, so keep every motion light and tapping.
- Build coverage in thin layers. One thick coat looks heavy and settles into fine lines. Two or three light layers give you buildable coverage that still looks like real skin.
- Store it somewhere breathable. Trapping a damp sponge in a drawer or bag invites bacteria. Let it dry fully in open air to protect both the sponge and your complexion.
- Match the sponge to the job. Use the flat edge for pressing, the rounded base for large areas, and the pointed tip for detail work around the nose and eyes.
FAQ Section
Should I Use a Makeup Sponge Wet or Dry?
Wet, almost always. A damp sponge swells up and applies foundation smoothly for a natural, dewy finish, while a dry one soaks up too much product and tugs at your skin. Run it under water, then squeeze out the excess until it feels moist but not dripping. The only time to use it dry is when pressing setting powder for extra coverage.

How Do I Get a Streak-Free Foundation Finish?
The trick is your motion. Instead of dragging or wiping the sponge across your face, bounce it gently in a light stippling motion. This presses foundation evenly into your skin and blends away harsh lines. Start with product dotted on your face, then tap it out in thin layers for a truly seamless finish.
How Often Should I Clean My Beauty Blender?
Ideally, rinse your sponge after every single use to remove trapped product and bacteria. For a deeper clean, wash it with a gentle cleanser or mild soap at least once a week. A dirty sponge can cause breakouts and muddy your foundation blending. Always let it air-dry fully before storing it away.
Can I Use One Sponge for Foundation and Concealer?
Yes, you can absolutely use the same sponge for both. Apply your foundation first with the rounded base, then use the clean pointed tip to press concealer into smaller areas. Just be sure the sponge is clean and damp so products blend together smoothly. Using different sections of the sponge keeps your application neat and precise.
When Should I Replace My Makeup Sponge?
Most sponges last about three months with regular use and proper cleaning. Replace yours sooner if you notice tears, stubborn stains, an off smell, or a loss of that soft, springy bounce. A worn-out sponge won’t blend well and can harbor bacteria that irritates your skin. Keeping a fresh one on hand protects both your complexion and your results.
Conclusion
You now have everything you need to use a makeup sponge like a pro. Remember the essentials: start with prepped skin, work with a damp sponge, bounce instead of drag, and build coverage in thin layers for that flawless, seamless finish. With a little practice, this simple tool becomes the secret behind your best complexion yet. If you haven’t found your perfect blender yet, check out our picks above to grab one that fits your routine.
Want to keep leveling up your beauty game? Explore our other guides on makeup tools and techniques to make every look effortless. Happy blending!
