
The first big snowfall hits, you yank the starter cord, and your snowblower coughs, sputters, then dies. Or maybe it won’t fire up at all. Nine times out of ten, the villain is a gummed-up carburetor clogged with old, stale fuel. Learning how to clean a snowblower carburetor is one of the smartest DIY skills you can pick up before winter buries your driveway.
In this guide, I’ll walk you through the whole process step by step. You’ll learn what tools to grab, how to safely remove and clean the carburetor, and how to spot trouble before it leaves you stranded. I’ll also share a few insider tips that keep your small engine humming season after season. Let’s get that machine roaring again.
What Is a Snowblower Carburetor?
A carburetor is the part of your snowblower’s engine that mixes air and fuel in the right ratio so the motor can run smoothly. Inside, tiny passages called carburetor jets meter the fuel, while a fuel bowl holds a reserve ready for combustion. When gasoline sits too long, it turns to varnish and clogs these delicate parts. That’s exactly why the carburetor is the first place to look when your snowblower won’t start.
What You’ll Need
Gather everything before you begin. A little prep saves you from hunting for tools with greasy hands halfway through.
- Carburetor cleaner (aerosol carb cleaner works great)
- A socket set and screwdrivers (flathead and Phillips)
- Needle-nose pliers
- A small wire brush or an old toothbrush
- Compressed air (a can or an air compressor)
- A clean drain pan or bucket
- Shop rags or paper towels
- Nitrile gloves and safety glasses
- A carburetor rebuild kit (optional, but handy for worn gaskets)
- Fresh gasoline for refilling
- A camera or phone to snap reference photos
Step-by-Step Guide on How to Clean a Snowblower Carburetor
Follow these steps in order. Take your time, keep your parts organized, and you’ll have the job done in about an hour.
Step 1: Set Up a Safe Work Area
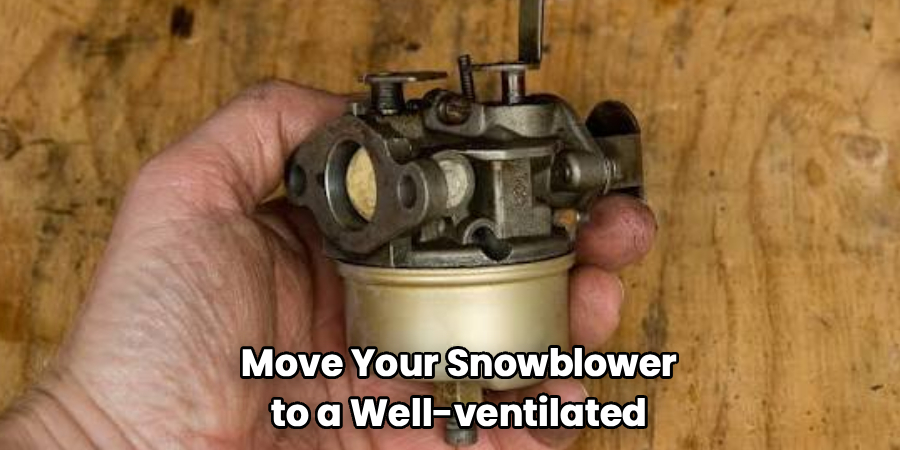
Move your snowblower to a well-ventilated space like an open garage or driveway. Carb cleaner and gasoline fumes are strong, so fresh air matters. Lay down cardboard or a drop cloth to catch drips and keep small parts from rolling away. Put on your gloves and safety glasses before you touch anything. A tidy, well-lit workspace makes the entire job smoother and safer.
Step 2: Shut Off the Fuel and Disconnect the Spark Plug
Safety comes first, so turn the fuel valve to the “off” position to stop gas from leaking out. Next, pull the boot off the spark plug so the engine can’t accidentally fire while your hands are near moving parts. This simple step prevents nasty surprises. You’ll learn what tools to grab, how to safely remove and clean the carburetor, and how to spot trouble before it leaves you stranded. Wipe the area around the carburetor with a rag to clear away loose dirt and grime. Starting clean keeps debris from falling into the fuel system.
Step 3: Remove the Air Filter and Housing
Locate the air filter cover, usually held on by a couple of screws or clips. Take it off and inspect the filter inside. If it looks dirty or oil-soaked, plan to replace it, since a clogged filter strains the engine. Set the housing and its fasteners in a small dish so nothing wanders off. Snap a quick photo before removing anything, giving you an easy reference for reassembly later.
Step 4: Detach the Carburetor
Now trace the fuel line and throttle linkage to the carburetor. Use needle-nose pliers to slide the fuel line clamp back, then gently pull the line free and let any gas drain into your pan. Unhook the throttle and choke springs carefully, noting where each one connects. Remove the mounting bolts and lift the carburetor away from the engine. Keep track of the gaskets, since you’ll need them or their replacements during reassembly.
Step 5: Disassemble and Drain the Fuel Bowl
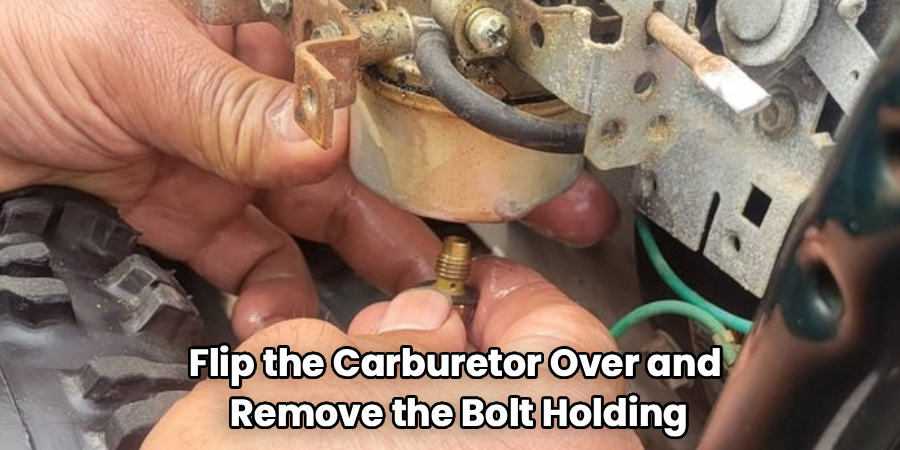
Flip the carburetor over and remove the bolt holding the fuel bowl in place. Pour out any old gas, and check for a gummy, varnish-like residue at the bottom. That sticky film is the usual culprit behind starting problems and rough idle speed. Take out the float and the needle valve, laying each piece on your rag in the order you removed it. Ethanol damage often shows up here as white or green corrosion, so inspect closely.
Step 6: Clean the Jets and Passages
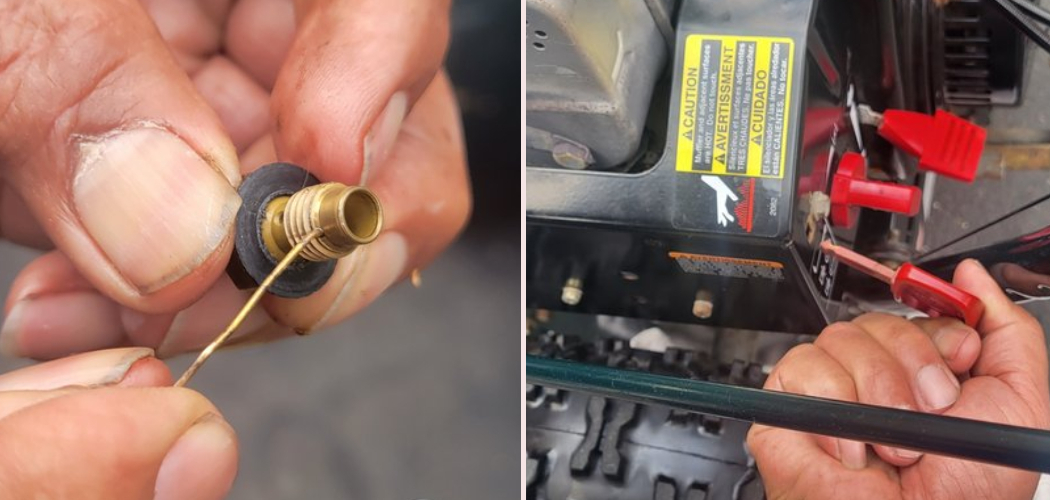
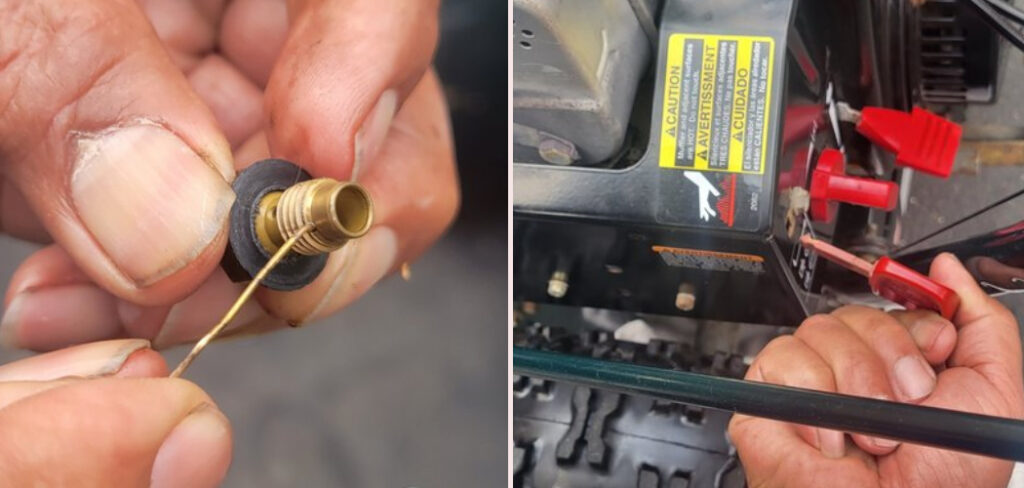
This is the heart of the job. Spray carb cleaner through every opening, especially the tiny carburetor jets that clog most easily. If a jet is blocked, poke it gently with a thin wire or a strand from a wire brush, then blast it clear with compressed air. Work through each passage until the cleaner sprays out the other side freely. Never force a jet or scratch it, as even small damage throws off the fuel mixture.
Step 7: Scrub and Wipe Every Component
Give the carburetor body a good once-over with your toothbrush and a bit more cleaner. Pay attention to the choke plate and the throttle body, where sticky buildup loves to hide. Wipe each part with a clean rag until it looks bright and free of gunk. If your gaskets are cracked or hardened, swap in fresh ones from your rebuild kit. Clean, flexible gaskets prevent air leaks that ruin performance.
Step 8: Reassemble the Carburetor
Reverse your steps to put everything back together. Reinstall the needle valve, float, and fuel bowl, tightening the bowl bolt snugly but not so hard that you strip it. Use your reference photos to reconnect the throttle and choke springs correctly. Double-check that the gaskets sit flat and aligned before you close things up. A careful reassembly here saves you from redoing the whole job.
Step 9: Remount and Reconnect Everything
Bolt the carburetor back onto the engine, then reattach the fuel line and slide its clamp into place. Reconnect the air filter housing and pop the spark plug boot back on. Turn the fuel valve to “on” and give everything a final visual check for loose parts or leaks. Wipe away any spilled gas with a rag. Take a breath, because you’re almost ready to test your work.
Step 10: Start It Up and Fine-Tune
Pull the starter cord and let the engine run for a few minutes. It may sputter briefly as fresh fuel works through the system, but it should settle into a steady rhythm. Listen for smooth operation and watch the idle speed. If the engine hunts or stalls, you may need to adjust the idle screw slightly. A little fine-tuning now gives you a machine that starts on the first pull all winter.
Tips for Best Results
These extra pointers come from years of small engine tinkering and will help you avoid rookie mistakes.
- Use fresh fuel and a stabilizer. Stale gas is the number one cause of clogged carburetors. Add a fuel stabilizer at the end of each season to protect the fuel system during storage. This simple habit prevents most future headaches.
- Watch out for ethanol. Most pump gas contains ethanol, which attracts moisture and eats away at parts over time. If you can find ethanol-free gasoline, use it in your snowblower. It burns cleaner and reduces corrosion inside the carburetor.
- Keep a rebuild kit on hand. Gaskets, seals, and small springs wear out with age. Having a matching rebuild kit ready means you won’t stall mid-project waiting on a part. Order one that fits your exact engine model.
- Photograph everything as you go. Springs and linkages have a way of looking identical once they’re off the machine. A few phone photos turn a confusing puzzle into a quick, confident reassembly.
- Run it dry before storage. At season’s end, let the engine run until it burns off the remaining fuel. An empty fuel bowl won’t gum up over the summer, saving you this whole job next year.
Frequently Asked Questions
How Often Should I Clean My Snowblower Carburetor?
For most homeowners, a good cleaning once a year before winter is plenty. If you always use fresh, stabilized fuel and empty the tank for storage, you may go even longer. Machines that sit with old gas in them need attention more often. When in doubt, a quick clean at the start of the season keeps things reliable.
Can I Clean the Carburetor Without Removing It?
You can spray carb cleaner into the intake and through the fuel bowl drain for a light touch-up. This quick method sometimes clears minor gum and gets a stubborn engine running. However, it won’t reach the clogged carburetor jets that cause most starting problems. For a thorough job, removing the carburetor is really the way to go.
What Are the Signs of a Dirty Carburetor?
The classic symptoms include an engine that won’t start, stalls after a few seconds, or surges up and down while idling. You might also notice black smoke or a strong fuel smell. These clues usually point to clogged jets or a varnish-coated fuel bowl. Catching them early makes the cleaning job much easier.
Is It Safe to Use Carb Cleaner on All Parts?
Aerosol carb cleaner is safe on metal parts like the carburetor body, jets, and throttle body. Be careful around rubber gaskets and plastic components, since harsh cleaner can dry them out or warp them. Always work in a ventilated area and wear gloves and eye protection. Read the product label to confirm it suits your specific parts.
Do I Need a Rebuild Kit Every Time?
Not always. If your gaskets and seals still look soft and intact, you can reuse them after cleaning. A rebuild kit becomes worth it when parts are cracked, brittle, or corroded from ethanol damage. Keeping one on the shelf simply means you’re ready if you find worn components.
Why Does My Snowblower Still Sputter After Cleaning?
If it still runs rough, a tiny jet passage may remain partly blocked, so recheck those first. An air leak from a poorly seated gasket can also cause trouble, along with an idle speed that needs adjusting. Fresh fuel and a new spark plug rule out other common causes. Patience and a second inspection usually solve it.
Conclusion
Knowing how to clean a snowblower carburetor puts you back in control when winter throws its worst at your driveway. Remember the essentials: work in a safe space, clear those clogged jets, use fresh fuel, and reassemble with care. It’s a rewarding job that saves you money and keeps your machine dependable for years.
If you haven’t stocked up on the right supplies yet, check out our recommended picks above to set yourself up for success. Ready to keep your gear in top shape? Browse our other DIY maintenance guides on the site for more hands-on, confidence-building projects.
