
You drilled a hole, but it’s just a hair too small. The bolt won’t slide through, or the fit feels rough and sloppy. Frustrating, right? That’s exactly where a reamer earns its keep. This handy cutting tool takes an existing hole and smooths it out to a precise, clean size. Whether you’re working on a bike repair, a metal bracket, or a woodworking project, learning this skill saves you a ton of headaches.
In this guide, you’ll learn what this tool does, what supplies you need, and how to use a reamer step by step. We’ll cover setup, technique, common mistakes, and expert tips. By the end, you’ll enlarge and finish holes like a seasoned pro.
What Is a Reamer?
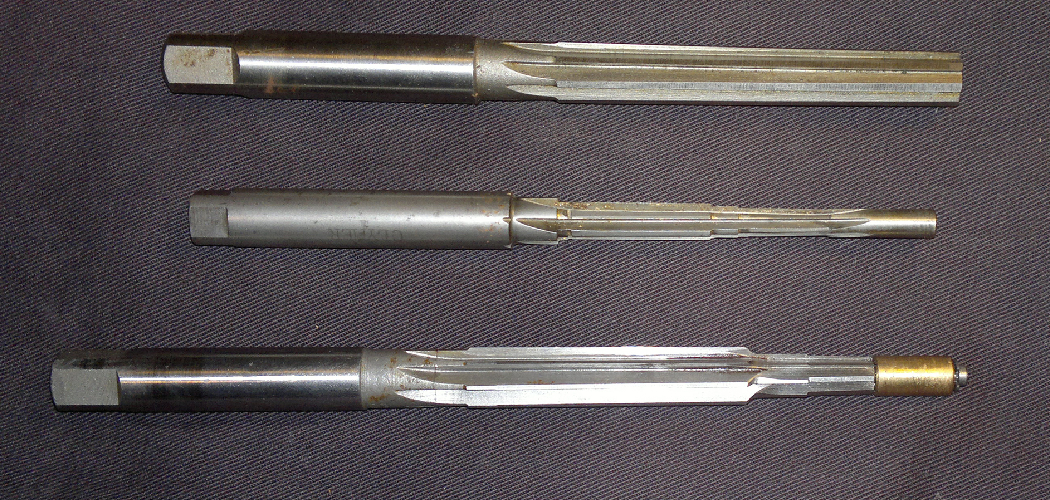
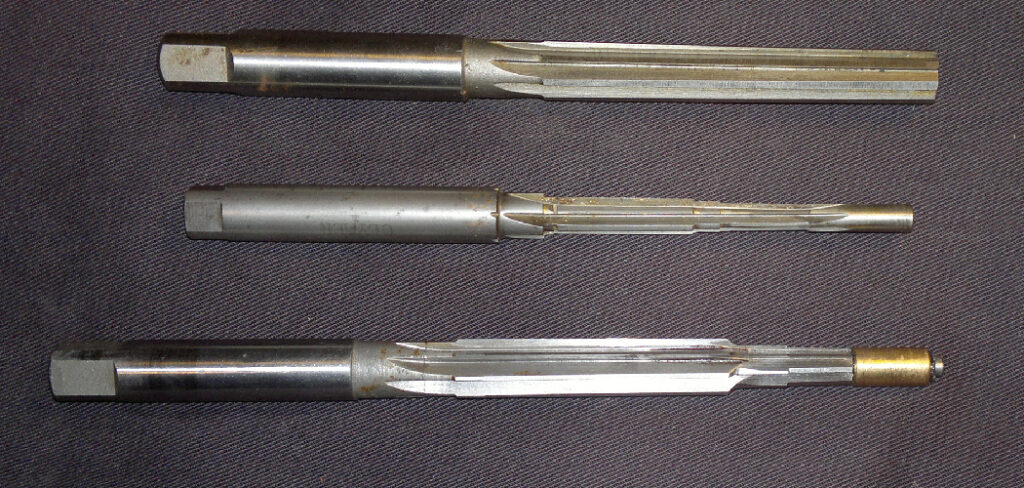
A reamer is a precision cutting tool used to enlarge and smooth an existing hole to an exact diameter. Unlike a drill bit that punches a rough hole from scratch, this tool shaves away tiny amounts of material for a clean, accurate finish. It has multiple cutting flutes running along its body that slice the bore evenly as it turns. Machinists and hobbyists reach for it whenever a hole needs tight tolerances, like housing a bearing, dowel, or pin.
What You’ll Need
Gather these items before you start. Everything here is easy to find at a hardware store or online.
- The correct reamer size for your finished hole
- A pre-drilled pilot hole slightly smaller than your target diameter
- A hand drill, drill press, or a tap wrench for hand work
- Cutting fluid or lubricating oil
- A clamp or vise to hold your workpiece steady
- Safety glasses and work gloves
- A soft cloth for wiping away chips
- Calipers to check your hole size
Step-by-Step Guide on How to Use a Reamer
Take these steps in order. Once you’ve done it a couple of times, the whole process feels natural.
Step 1: Choose the Right Size and Type
Start by matching your tool to the job. Reamers come in fixed sizes and also in adjustable and tapered styles. For a straight, uniform hole, pick a standard size that matches your final diameter exactly. If you’re working with a hole that needs to widen along its length, a tapered reamer is your friend. Getting this choice right up front saves you from redoing the whole job later.
Step 2: Drill Your Pilot Hole First
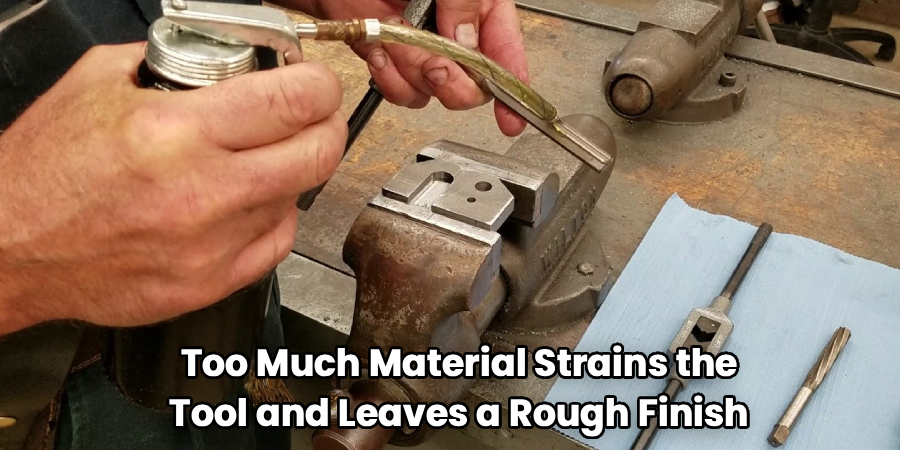
This tool doesn’t create holes from nothing. You need a pilot hole already in place, drilled slightly undersized. As a rule of thumb, leave about 0.010 to 0.015 inches of material for the flutes to remove. Too much material strains the tool and leaves a rough finish. Too little, and it won’t cut cleanly. A properly sized pilot hole sets you up for smooth, accurate results.
Step 3: Secure Your Workpiece
Clamp your material tightly in a vise or with a solid clamp. Any movement while cutting ruins your accuracy and can damage the tool’s edges. Make sure the workpiece sits square, so the hole stays straight and true. If you’re working with metal, double-check that nothing wobbles. A rock-solid setup is the difference between a clean bore and a frustrating mess.
Step 4: Apply Cutting Fluid
Before you start turning, add a generous drop of cutting fluid to the hole and the tool. This lubricant reduces friction, keeps the flutes cool, and helps clear away chips. In metalworking especially, skipping this step leads to overheating and dull edges fast. The fluid also gives you a smoother, cleaner finish inside the bore. Reapply as you work if the hole starts to feel dry or hot.
Step 5: Align and Start Slowly
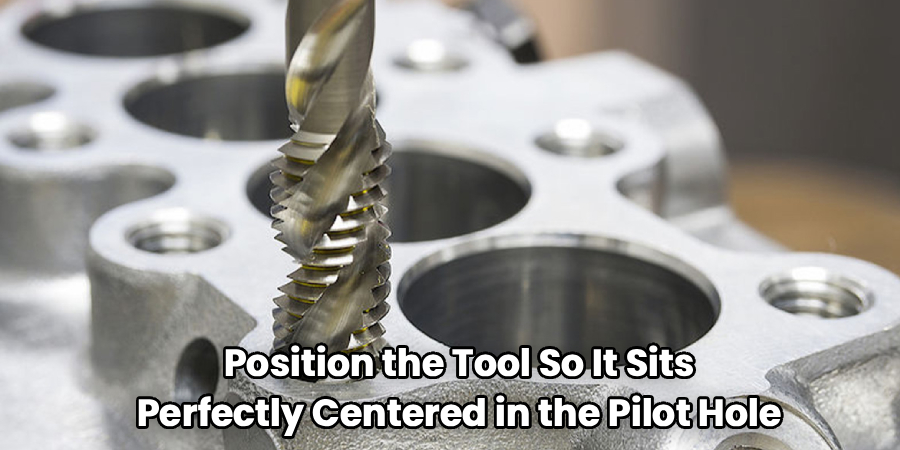
Position the tool so it sits perfectly centered in the pilot hole. Keep it straight and square to the surface, since even a slight angle throws off your alignment. Begin turning gently, letting the cutting flutes bite into the material on their own. Don’t force it or lean your weight in. A slow, steady start guides the tool true and prevents chatter marks along the walls.
Step 6: Turn in One Direction Only
Here’s a rule you must never break: always turn clockwise, the cutting direction. Never reverse or spin it backward, even to pull it out. Turning backward drags the flutes across the metal edges and dulls or chips them instantly. Keep a steady, even pace as you feed the tool through the hole. This single habit protects your investment and keeps your edges razor sharp.
Step 7: Feed Steadily and Clear the Chips
Apply gentle, consistent downward pressure as you turn. Let the tool do the work rather than rushing it through. Every so often, pause and wipe away the metal or wood chips building up in the flutes. Clogged flutes create a rough surface and can bind the tool inside the hole. Keep feeding until you’ve passed cleanly through the full depth you need.
Step 8: Remove the Tool Carefully
Once you reach full depth, keep turning clockwise while you lift the tool straight out. Resist the urge to reverse it, even now. Pull it out in the same direction you cut, slowly and evenly. Then wipe the tool clean and inspect the flutes for any trapped debris. Handling this final step with care keeps both your hole and your tool in top shape.
Step 9: Check Your Hole Size
Grab your calipers and measure the finished bore. Compare it against your target diameter to confirm you hit the right tolerances. Slide in the bolt, pin, or bearing to test the actual fit. If it’s still a touch tight, a light second pass may help, but go slowly. A quick measurement now prevents surprises when you assemble your project.
Tips for Best Results
These extra pointers come from real shop experience. They’ll help you get cleaner results every time.
- Go slow with your speed. Reaming works best at lower RPMs than drilling. High speeds generate heat, dull the flutes, and leave a rough bore. Patience pays off with a mirror-smooth finish.
- Never reverse the direction. This bears repeating because it’s the most common mistake beginners make. Backing it out spins the flutes the wrong way and destroys the edges in seconds.
- Keep it clean and oiled. Store your tool dry and lightly oiled to prevent rust. A rusty or nicked flute will never cut cleanly, no matter how careful your technique.
- Match the pilot hole precisely. Leaving the right amount of material is the secret to a great finish. Too little or too much both cause problems, so measure before you drill.
- Use a hand reamer for delicate work. When precision matters more than speed, a hand reamer turned with a tap wrench gives you total control over the cut.
Frequently Asked Questions
What’s the Difference Between a Reamer and a Drill Bit?
A drill bit creates a rough hole from solid material, while a reamer refines a hole that already exists. The reaming tool removes only a tiny amount of material to hit exact tolerances and a smooth finish. Think of the drill as the rough draft and the reaming step as the polish. You almost always use them together, one after the other.
Can I Use a Reamer in a Cordless Drill?
Yes, you can use one in a cordless drill for lighter jobs, but keep the speed low and steady. High RPMs generate heat that dulls the cutting flutes quickly. For the most precise results, especially in metalworking, many people prefer a drill press or hand work with a tap wrench. Always add cutting fluid to protect the edges and improve the finish.
How Much Material Should I Leave for Reaming?
A good rule is to leave about 0.010 to 0.015 inches of material in the pilot hole for the flutes to remove. Too much material overworks the tool and leaves a rough bore. Too little means it won’t cut cleanly and may just rub instead. Measuring your pilot hole before you start makes all the difference.
Is It Safe to Ream Different Materials?
You can ream metal, wood, and plastic, but each behaves a little differently. Metal usually needs cutting fluid to control heat and clear chips, while wood cuts more freely. Always secure your workpiece and wear safety glasses no matter the material. Match your speed and lubrication to what you’re cutting for the cleanest, safest results.
Why Does My Hole Come Out Rough or Oversized?
Rough holes usually come from turning too fast, skipping the lubricant, or letting chips clog the flutes. An oversized hole often means the tool wandered off center or you applied uneven pressure. Reversing the direction is another common culprit that damages the edges. Slow down, keep it centered, and turn clockwise only for a clean, accurate bore.
Do I Really Need Cutting Fluid?
For metal, yes, cutting fluid is well worth it. The lubricant keeps the tool cool, reduces friction, and helps flush away chips for a smoother finish. Skipping it causes overheating that dulls your edges fast and shortens the tool’s life. For softer materials like wood, you can often skip it, but a little never hurts.
Conclusion
Using a reamer really comes down to a few key habits: drill a proper pilot hole, add lubricant, turn clockwise only, and go slow. Nail those, and you’ll get clean, accurate holes that fit perfectly every time. Don’t rush it, and always check your measurements before you assemble. If you haven’t picked up a quality set yet, check out our recommended picks above to find the right one for your projects. Hungry for more? Explore our other step-by-step tool guides for simple tips that level up your workshop skills.
