
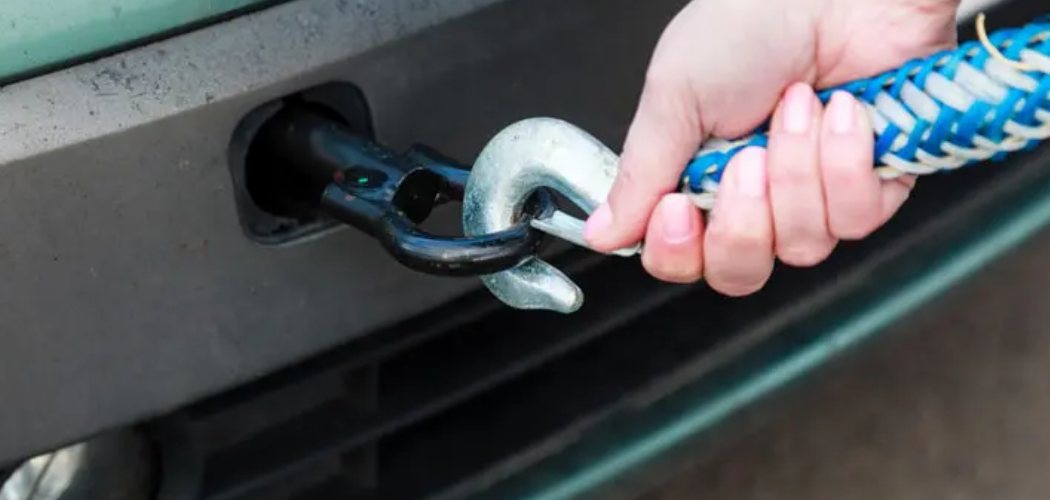
Your buddy’s car broke down two blocks from home, and there’s no tow truck in sight. Or maybe you just bought a second vehicle and need to haul it back to your driveway. Situations like these are exactly where a towing bar saves the day. Instead of paying for an expensive tow, you can connect two vehicles and move the disabled one yourself.
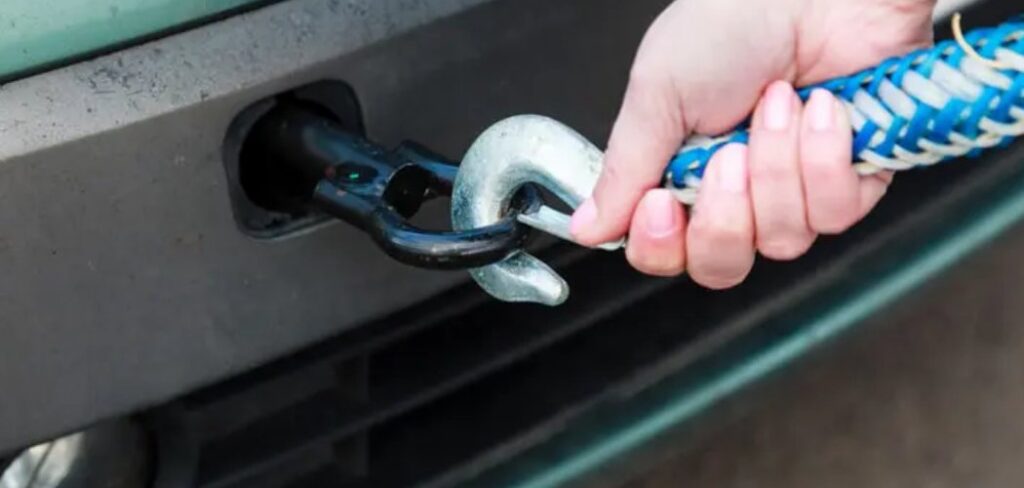
In this guide, you’ll learn how to use a towing bar safely, from attaching the mounting brackets to hitting the road with confidence. We’ll cover the gear you need, the exact steps to follow, and a few pro tips that most people overlook. By the end, you’ll handle a short tow like you’ve done it a hundred times before.
What Is a Towing Bar?
A towing bar is a sturdy metal device, usually shaped like an A-frame, that links a towing vehicle to the one being pulled. It attaches to a hitch on the front car and clamps to mounting points on the disabled vehicle. This lets the towed car roll along on its own wheels while following the lead vehicle. It’s a favorite for RV owners, mechanics, and anyone moving a car short distances without a flatbed trailer.
What You’ll Need
Gather these items before you start. Having everything ready makes the whole job faster and far less stressful.
- A rated towing bar suited to your vehicle’s weight
- Mounting brackets or base plates for the towed car
- Safety chains or cables (two, crossed under the bar)
- A properly sized hitch ball or receiver on the lead vehicle
- Locking pins and clips to secure connections
- A wiring harness for tow lights, if required
- Work gloves and safety glasses
- Your vehicle owner’s manuals for both cars
- Wheel chocks to keep the towed car from rolling
Double-check the weight rating on your equipment before anything else. Overloading a bar rated too low is one of the most dangerous mistakes you can make.
Step-by-Step Guide on How to Use a Towing Bar
Step 1: Check the Weight Ratings and Compatibility
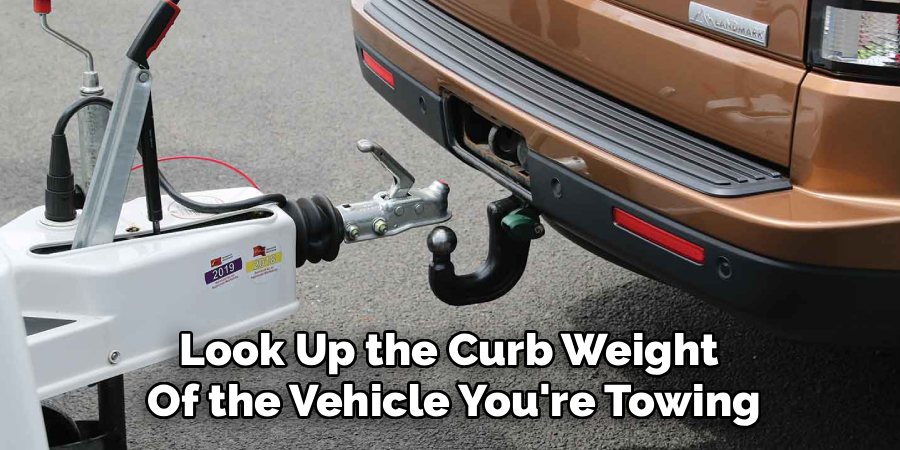
Start by confirming that your equipment can handle the load. Look up the curb weight of the vehicle you’re towing and compare it to the rating stamped on your bar. Your lead vehicle’s hitch and the tow bar must both exceed that weight with room to spare. Never guess here; overloaded gear can snap under stress. Also confirm the towed car is safe to flat-tow, since some automatics can suffer transmission damage. When in doubt, check both owner’s manuals first.
Step 2: Position Both Vehicles on Level Ground
Park the lead vehicle and line it up straight with the car you’re towing. You want just enough space between them to attach the bar comfortably. Level ground matters a lot, because a slope makes hookup awkward and increases roll risk. Set the parking brake on the front vehicle and place wheel chocks behind the rear car’s tires. This keeps everything still while you work. Rushing the alignment now leads to a crooked, unstable connection later.
Step 3: Install the Mounting Brackets
Attach the base plates or brackets to the frame of the towed vehicle. These connection points bolt onto sturdy, reinforced spots designed to take the strain. If your car doesn’t already have them, install a bracket kit made specifically for that model. Tighten every bolt to the torque spec listed in the instructions. Loose brackets are a leading cause of dangerous disconnections on the road. Give each one a firm tug to confirm it’s rock solid before moving on.
Step 4: Connect the Towing Bar to the Lead Vehicle
Slide the bar’s coupler onto the hitch ball or into the receiver on your front vehicle. Make sure it seats fully, then lock the latch and drop in the safety pin. You should feel a satisfying click when the coupler locks around the ball. Give the bar a gentle wiggle to check that it won’t pop free. A poorly seated coupler can separate at the worst possible moment. Take your time and confirm the latch is fully engaged.
Step 5: Attach the Arms to the Towed Vehicle
Extend the two arms of the bar and connect each one to the mounting brackets you installed earlier. Line them up so both sides sit at equal angles for balanced pulling. Insert the locking pins through each attachment point and secure them with clips. Uneven arms cause the towed car to track poorly and sway. Once connected, slowly roll the lead vehicle forward a few inches so the arms lock straight. This self-aligning step keeps the tow steady from the start.
Step 6: Hook Up the Safety Chains
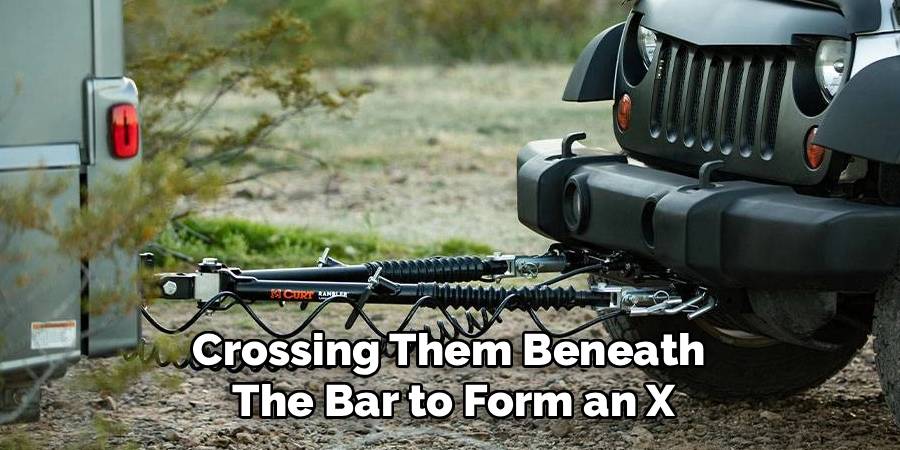
Never skip your safety chains, since they’re your backup if the main connection fails. Run each chain from the towed vehicle to the lead vehicle, crossing them beneath the bar to form an X. This X shape cradles the coupler and stops it from hitting the pavement if it drops. Leave just enough slack for turning, but not so much that they drag. Attach the hooks securely and double-check they can’t bounce loose. Crossed chains are a simple habit that prevents disaster.
Step 7: Connect the Lights and Test Them
Plug in the wiring harness so the towed vehicle’s lights match your signals. Ask a friend to stand behind while you test the brake lights, turn signals, and hazards. Working lights aren’t just smart; they’re the law in most places. If a light stays dark, check the connector and fuses before you drive. Faulty tow lights are one of the most common reasons drivers get pulled over. A quick test now keeps your trip legal and safe.
Step 8: Prepare the Towed Vehicle for Rolling
Get the towed car ready to roll freely behind you. Turn the ignition to the accessory position so the steering wheel unlocks and follows the road. Shift the transmission into neutral and release the parking brake. Remove the wheel chocks once everything else is secured. Forgetting to unlock the steering is a classic mistake that drags the front tires. Walk around the whole setup one last time to confirm both cars are ready.
Step 9: Drive Slowly and Test Your Setup
Ease forward at a walking pace for the first few feet, watching your mirrors closely. Feel how the load pulls and listen for any strange clunks or scraping. Take a short, slow loop around the block before heading out for real. Keep your speed low, brake early, and give yourself extra room for wide turns. Sudden moves can make the towed car sway or jackknife. A calm, cautious start sets the tone for the entire trip.
Tips for Best Results
Want to tow like a seasoned pro? These habits go beyond the basic steps and make a real difference.
- Keep your speed under 55 mph. Most flat-tow setups aren’t built for highway speeds. Slower driving reduces sway and gives you more time to react to surprises.
- Stop and re-check after the first few miles. Pull over once early on to confirm your pins, chains, and brackets are still tight. Vibration loosens hardware, and a quick inspection catches problems before they grow.
- Avoid sharp turns and tight backing. Reversing with a rigid bar can bend or damage it fast. Plan your route with wide, forward-friendly paths whenever possible.
- Grease the moving joints regularly. A little lubricant on the couplers and pivot points keeps everything smooth and prevents rust. Sticky joints wear out and make hookup harder over time.
- Match your equipment to your vehicle. A bar rated for a compact car won’t safely pull a heavy SUV. Always size up your gear to the heaviest load you plan to tow.
FAQ Section
How Fast Can I Drive While Towing?
Most manufacturers recommend keeping your speed at or below 55 mph. Going faster increases the chance of dangerous sway and puts extra strain on your equipment. Always check the instructions that came with your gear for the exact limit. Slower speeds also give you more room to brake and steer safely.
Can I Tow Any Car With a Tow Bar?
Not every vehicle is safe to flat-tow on all four wheels. Many automatic transmissions can overheat or suffer damage when towed this way. Rear-wheel-drive cars and many manuals tend to be safer choices. Always check your owner’s manual to confirm before you hook up, or use a dolly instead.
Is It Safe to Reverse While Towing?
Backing up with a rigid setup is risky and best avoided. The arms can bind, bend, or jackknife when you reverse, which may damage both vehicles. If you absolutely must back up, do it very slowly and only a short distance. The smarter move is to plan routes that let you pull forward the whole way.
Do I Need Safety Chains If the Connection Is Tight?
Yes, safety chains are essential no matter how secure the main link feels. They act as your backup if a coupler fails or a bracket loosens. Cross them in an X beneath the bar so they can catch a dropped connection. Skipping them is both dangerous and illegal in most areas.
How Often Should I Inspect My Equipment?
Give everything a thorough look before every single trip. Check for cracks, rust, worn pins, and loose bolts on the arms and brackets. Then stop again a few miles into your journey to confirm nothing has shifted. Regular inspections catch small issues before they turn into roadside emergencies.
Conclusion
Moving a stranded car no longer means waiting hours for a tow truck or draining your wallet. With the right prep, a towing bar turns a stressful situation into a job you can handle yourself. Just remember the essentials: check your weight ratings, lock every connection, cross your safety chains, and drive slow. Don’t worry if your first hookup feels slow; it gets easier every time. If you haven’t picked one up yet, check out our recommended picks above. Browse our other DIY and roadside guides to keep every trip rolling smoothly.
