
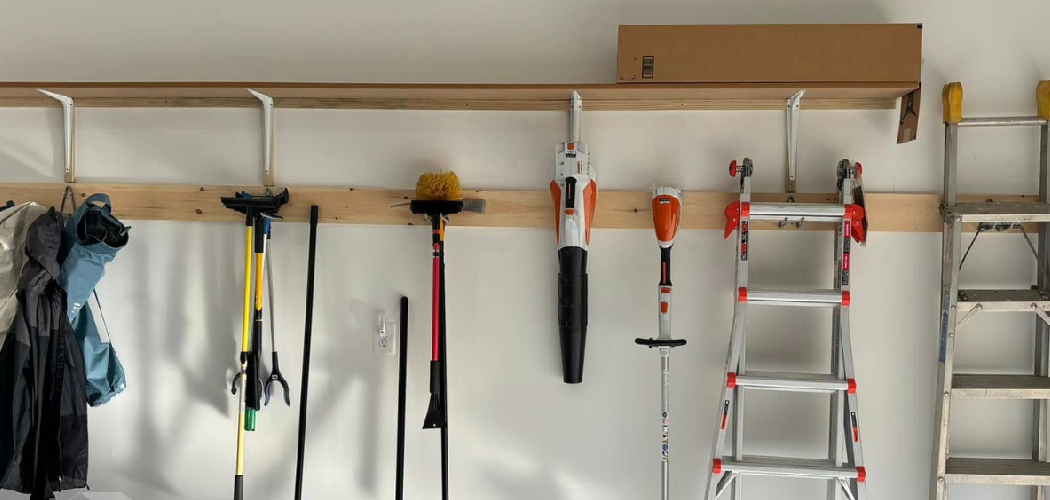
You walk into the garage, trip over the leaf blower leaning against the wall, and knock over three other things trying to catch it. The cord tangles with the rake, and now your blower sits in a dusty corner collecting grime. If this sounds familiar, it’s time to hang a leaf blower properly and reclaim your floor space. A simple wall mount keeps your tool off the ground, safe from damage, and ready to grab.
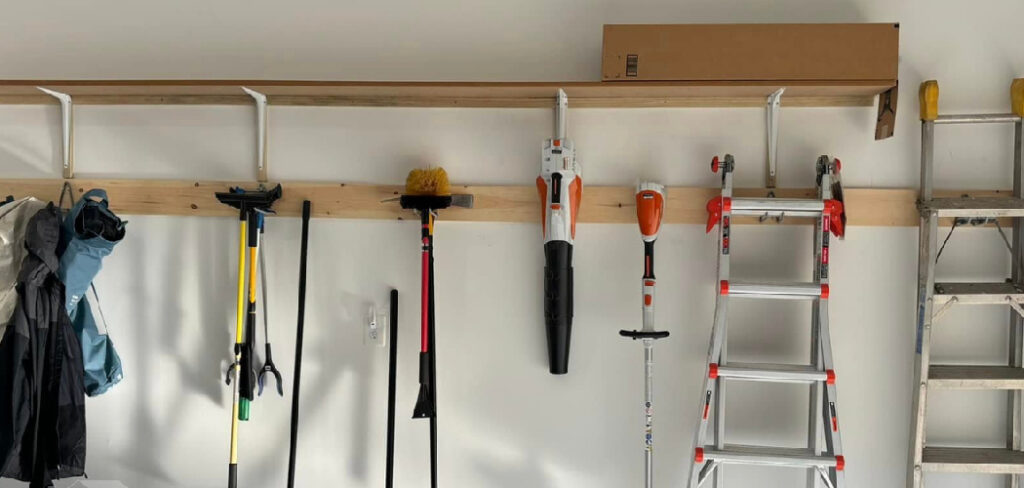
In this guide, I’ll show you exactly how to hang a leaf blower. You’ll learn what supplies to gather, how to find a solid anchor point, and how to install the right tool hanger. We’ll also cover expert tips and answer the questions people ask most. Let’s turn that cluttered corner into a clean, organized spot.
What You’ll Need
Before you start, gather your supplies. Having everything within reach saves you trips back and forth to the toolbox.
- A heavy-duty tool hanger, wall bracket, or blower hook rated for your blower’s weight
- A stud finder to locate solid framing
- A drill with the correct bits
- Wall anchors (for drywall or masonry, if no stud is available)
- Screws or lag bolts suited to your wall type
- A tape measure
- A pencil for marking
- A level to keep things straight
- Safety glasses
- A pegboard panel (optional, for a full garage storage setup)
Keep a small bowl handy for screws and anchors. It stops little parts from rolling off the workbench and vanishing.
Step-by-Step Guide on How to Hang a Leaf Blower
Ready to clear that clutter? Follow these steps in order, and take your time with each one. Rushing the setup often leads to a hook that pulls loose later.
Step 1: Weigh Your Blower and Pick the Right Hardware
Start by checking how much your leaf blower weighs. A lightweight electric model might tip the scale at 5 pounds, while a gas backpack unit can hit 20 pounds or more. This number tells you which tool hanger or wall bracket to buy.
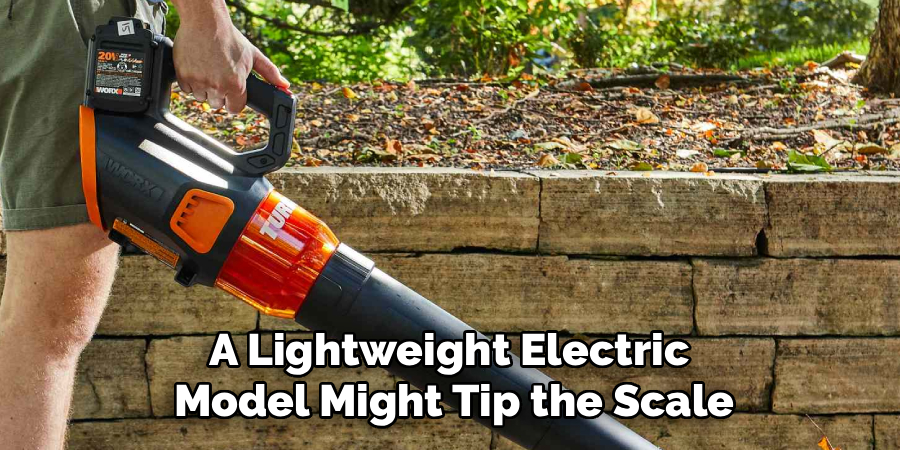
Choose a hook rated well above your blower’s weight, since a snug margin adds safety. Grabbing an undersized hook is the most common mistake folks make, and it leads to sagging or a sudden crash. When in doubt, size up for peace of mind.
Step 2: Choose the Perfect Spot on the Wall
Look around your garage for a clear, open patch of wall. You want a spot where the blower hangs freely without banging into shelves, cars, or the door swing. Pick a height that lets you lift the tool on and off without straining your back.
Keep it away from heat sources like a water heater, especially for gas blowers that hold fuel. A good storage solution sits at chest or shoulder level for easy access. Think about the cord or nozzle too, so nothing dangles into a walkway.
Step 3: Find the Studs Behind the Wall
Grab your stud finder and slide it along the wall where you plan to mount the hook. When it beeps or lights up, mark the spot with your pencil. Studs give you the strongest anchor point, and screwing directly into one holds far more weight than drywall alone. Most studs sit 16 inches apart, so once you find one, measure over to locate the next. Anchoring into a stud is the single best move for a secure hang. If you skip this step, even a good hook can rip out of soft drywall.
Step 4: Mark and Measure Your Mounting Holes
Hold the tool hanger or wall bracket against your chosen spot. Use your pencil to mark each screw hole through the bracket’s openings. Now grab your level and check that your marks sit perfectly straight, since a tilted hook makes the blower slide off. Double-check your measurements before you drill, because a crooked bracket is tough to fix once the holes are in. Measure twice, drill once is more than an old saying here. A few extra seconds now saves you a patched wall later.
Step 5: Drill Your Pilot Holes
Put on your safety glasses and load the correct bit into your drill. For a wooden stud, a pilot hole slightly smaller than your screw keeps the wood from splitting. For masonry or brick, switch to a masonry bit and drill to the depth of your anchor. Go slow and steady, keeping the drill level and straight. If you’re mounting into drywall without a stud, drill to fit your wall anchors snugly. Blowing through this step with a wobbly hand leads to oversized holes that won’t grip.
Step 6: Install Anchors and Attach the Hook
If you hit a stud, you can skip anchors and drive your screws straight in. For drywall or masonry, tap your wall anchors into the pilot holes until they sit flush. Line up the tool hanger over the holes, then drive your screws or lag bolts through the bracket and into the anchors. Tighten until the hook feels firm, but don’t overdo it and crack the anchor. A properly secured wall mount shouldn’t wiggle at all when you tug it. Give it a good pull to confirm it holds before you trust it with your blower.
Step 7: Consider a Pegboard for Extra Flexibility
Want a setup you can rearrange anytime? Mount a pegboard panel to the wall first, then hang your blower hook right onto it. A pegboard lets you shift hooks around as your garage storage needs change. This works great if you own several tools you want grouped together in one tidy zone. Just make sure the pegboard itself anchors into studs, since it carries the full load. Adding a pegboard turns a single hook into a whole flexible storage solution you can grow over time.
Step 8: Hang the Blower and Test the Balance
Lift your leaf blower and set it onto the hook nice and slow. Let it settle, then step back and check how it hangs. The tool should rest balanced, without leaning hard to one side or threatening to slip. If it feels tippy, reposition the blower or add a second hook to cradle the body. For gas models, hang the unit so fuel won’t leak from the cap. A quick balance check now prevents a nasty surprise the next time you reach for it.
Step 9: Tidy Up the Cord and Attachments
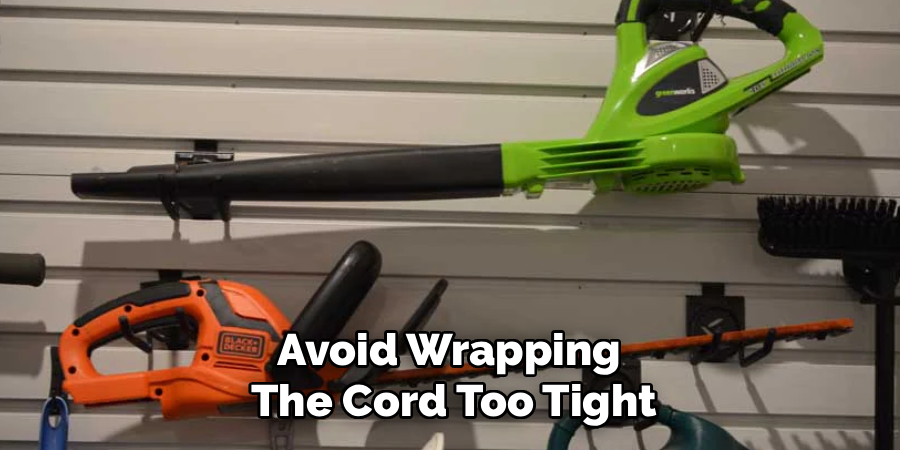
Loose cords and nozzles turn a clean mount into a tangled mess. Coil an electric blower’s cord loosely and loop it over the hook or a small nearby hanger. Store extra nozzles and tubes on adjacent hooks so everything stays together in one spot. Avoid wrapping the cord too tight, since sharp kinks can damage the wire over time. A neat setup makes your whole garage feel more organized and keeps your gear ready to go. This final touch pulls the whole storage solution together.
Tips for Best Results
Want to mount like a seasoned pro? These insider tricks go beyond the basics and save you real trouble down the road.
- Always anchor into a stud when you can. Drywall anchors work in a pinch, but a stud holds several times more weight. For heavier gas blowers, a stud is not optional, it’s essential.
- Add a second hook for backpack blowers. A single hook can stress one point and let the tool swing. Two hooks spread the load and keep bulky units stable and level.
- Leave breathing room around the blower. Give yourself a few inches of clearance on every side. This makes lifting the tool on and off simple and stops scuffs on your wall.
- Label a spot for accessories. Dedicate nearby hooks or a small bin for nozzles, batteries, and chargers. Keeping the whole kit in one zone means you never hunt for parts.
- Recheck the hardware each season. Screws can loosen over months of use. A quick tug test every few months keeps your wall mount rock solid year-round.
FAQ Section
How Much Weight Can a Leaf Blower Wall Hook Hold?
It depends entirely on the hook and where you anchor it. Most tool hangers list a weight rating right on the package, often between 15 and 50 pounds. Anchoring into a stud lets the hook reach its full rating, while drywall anchors hold much less. Always pick a hook rated above your blower’s weight, and screw into a stud whenever possible for the safest hold.
Can I Hang a Leaf Blower on Drywall Without a Stud?
Yes, but you’ll need the right wall anchors to do it safely. Toggle bolts or heavy-duty drywall anchors can support a lightweight electric blower on their own. For heavier gas models, drywall alone usually won’t cut it, and you risk the hook tearing loose. Whenever you can, find a stud behind the drywall for a far stronger anchor point.
Is It Safe to Hang a Gas Leaf Blower on the Wall?
It’s safe as long as you take a couple of precautions. Hang the blower so the fuel cap stays upright and fuel can’t leak out. Keep the unit away from heat sources, sparks, or open flames like a furnace pilot light. Empty the tank before long-term storage, and your gas blower will sit securely without any worry.
What’s the Best Height to Hang a Leaf Blower?
Aim for chest or shoulder height for the easiest access. This range lets you lift the tool on and off without bending low or reaching overhead. Make sure the blower hangs high enough that it clears the floor and any clutter below. Also check that it won’t bump into car doors, shelves, or the path you walk through daily.
Do I Need a Special Hook to Hang a Leaf Blower?
You don’t need anything fancy, but you do need a hook strong enough for the job. A heavy-duty tool hanger or wall bracket works great for most blowers. Avoid flimsy adhesive hooks, since they rarely hold power tools and often peel off the wall. A sturdy blower hook screwed into a stud gives you the reliable storage solution you want.
Will a Pegboard Hold My Leaf Blower?
A pegboard can hold your blower if you install it correctly. Anchor the pegboard panel into wall studs so it can carry the weight of your tools. Then use pegboard hooks rated for heavier items to cradle the blower. This flexible setup lets you rearrange your garage storage anytime your needs shift.
Conclusion
Getting your gear off the floor is simpler than it looks. Once you know how to hang a leaf blower, you’ll enjoy a cleaner garage and a tool that’s always ready to grab. Just remember to match your hook to the weight, anchor into a stud, and check the balance before you trust it. A few minutes of work pays off every single day.
If you haven’t grabbed a sturdy hook or wall bracket yet, check out our picks in the recommended products section above. Ready to organize the rest of your space? Browse our other DIY guides for more handy storage tips and easy projects.
